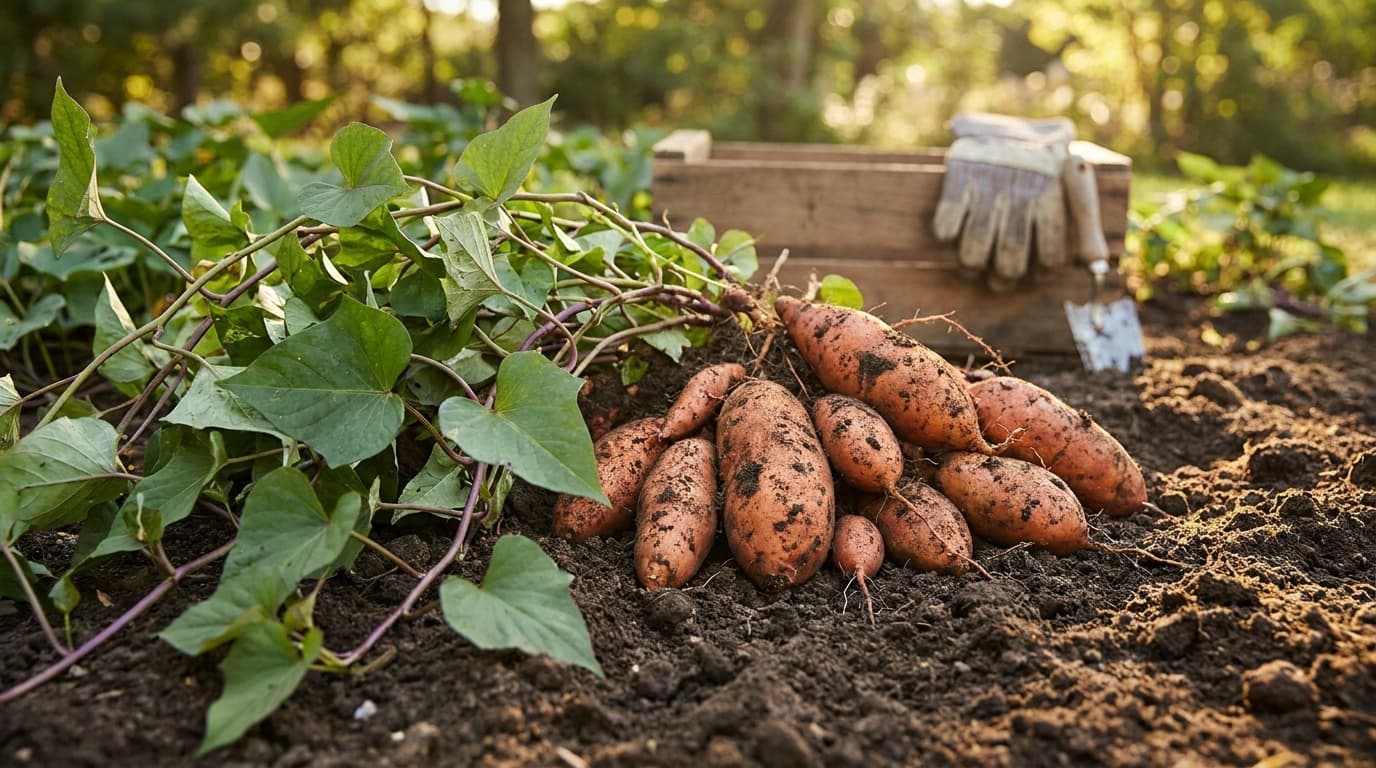
Sweet potatoes are not the same as yams and are not closely related to white potatoes. They are vigorous tropical vines that form storage roots underground. Understanding that growth habit explains the practical priorities: plant healthy slips, give roots loose soil, keep nitrogen restrained, handle the harvest gently, and cure every sound root before storage.
Understanding slips
Sweet potatoes are propagated from slips: rooted stem cuttings that sprout from a mature sweet potato kept in warm, humid conditions. You do not plant the sweet potato tuber itself.
You can purchase slips from a reputable mail-order nursery (they ship in spring on your requested date) or grow your own starting 4 to 6 weeks before your transplant date by placing a sweet potato halfway in water in a warm, bright location.
Site and soil preparation
Sweet potatoes are vigorous vines, so choose a bright, well-drained site where runners can travel without smothering smaller crops. The sweet potato profile carries the exact site and layout requirements.
Loose, deep soil is essential. Sweet potatoes need soil that offers little resistance as the storage roots expand. Hard, compacted, or rocky soil causes deformed, stunted, or forked roots. Loosen the full root zone and remove large stones and hard clods.
Low to moderate fertility. This is the most important soil point for sweet potatoes: excess nitrogen causes lush, aggressive vine growth at the expense of root production. Avoid fresh manure, high-nitrogen fertilizers, or heavily amended beds. On very poor, sandy soil, a single pre-plant application of a low-nitrogen fertilizer (something with a low first number, like 5-10-10) is appropriate. On most garden soils, no additional fertilizer at planting is needed.
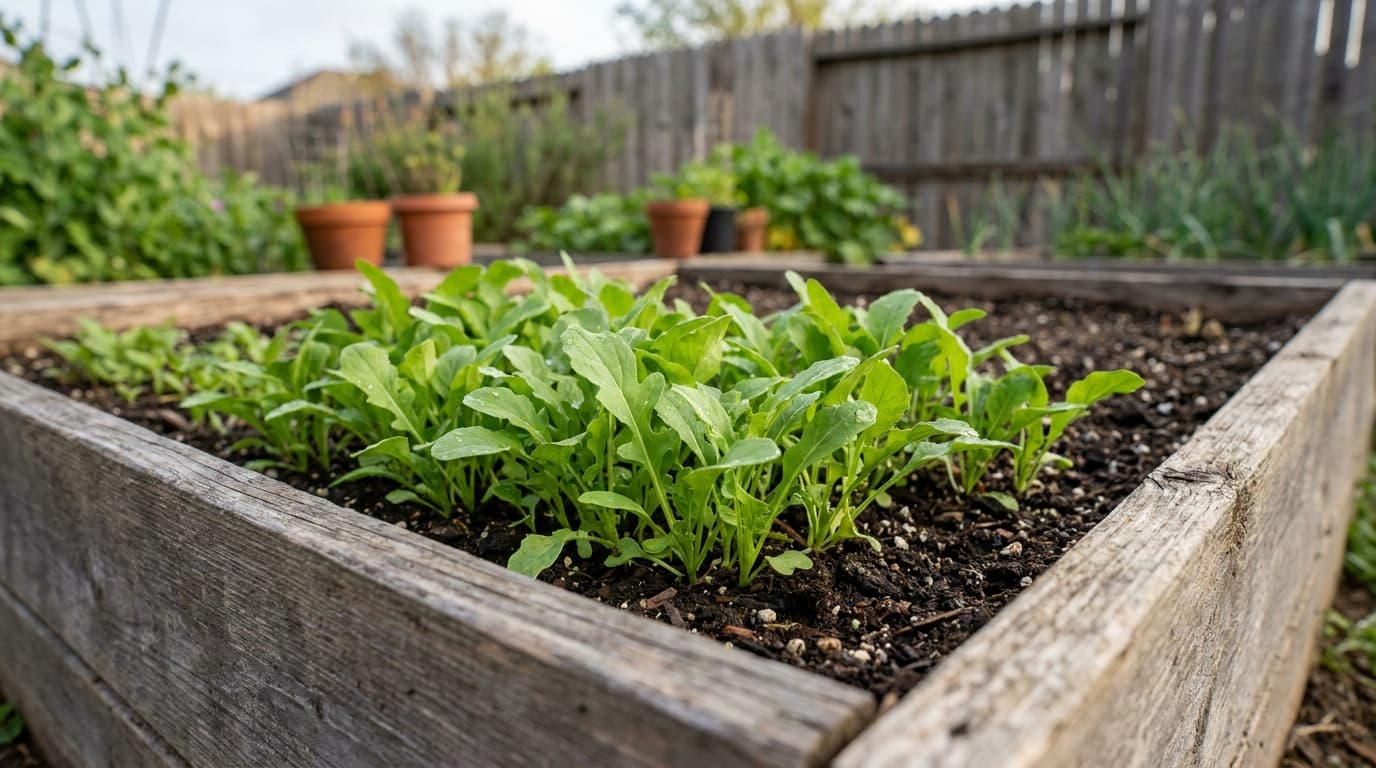
Raised or ridged beds. A broad, well-drained ridge gives expanding storage roots loose soil and makes harvest easier. Shape it firmly enough to resist erosion but leave the interior friable rather than compacted.
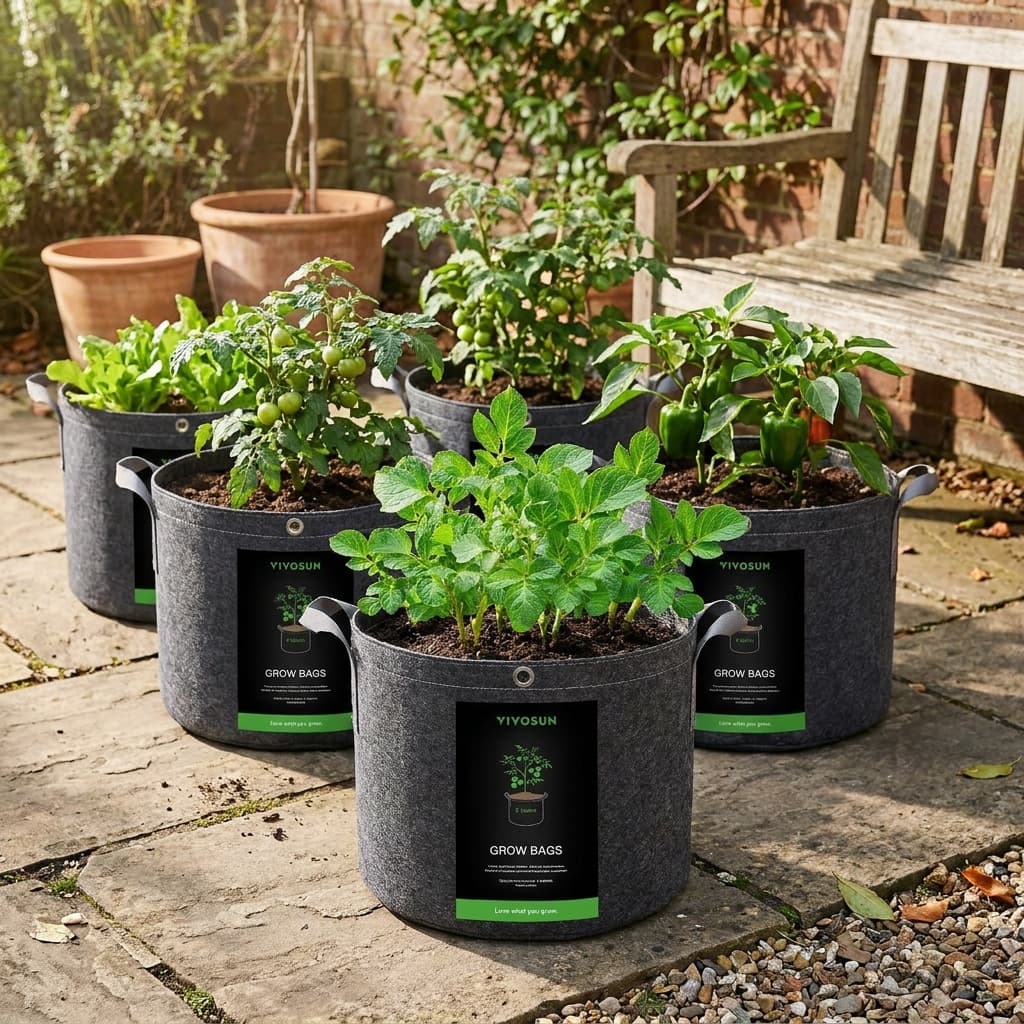
Fabric grow bags are a practical option for gardeners with poor native soil or limited space. They warm quickly in spring, drain well, and the roots are easy to harvest without digging.
Some links on this page are affiliate links. As an Amazon Associate I earn from qualifying purchases.
Great for sweet potatoes
VIVOSUN 5-Gallon Fabric Grow Bags (5-Pack)
Best for: Container growers who want cheap, breathable bags for tomatoes, peppers, or potatoes.
Keep in mind: Dries out faster than rigid containers
Amazon price as of the checked date, subject to change. The price on Amazon at checkout applies.
Full research
- Material
- Nonwoven fabric
- Capacity
- 5 gal each
- Pack
- 5 bags
- Handles
- Reinforced carry handles
VIVOSUN's fabric grow bags are a hugely popular budget pick for container growing. The breathable fabric air-prunes roots, and a five-pack costs little, though the handles can loosen after heavy seasons.
This catalog-wide research score is separate from this guide's use-case ranking. How we research
Strengths
- Breathable fabric air-prunes roots
- Very low cost per bag in a multi-pack
- Fold flat for off-season storage
Weaknesses
- Dries out faster than rigid containers
- Handles can loosen over multiple seasons
Sprout Score breakdown
Best for
Container growers who want cheap, breathable bags for tomatoes, peppers, or potatoes.
Planting slips
Lay out slips according to the sweet potato plant profile, leaving clear access to each crown so you can find it at harvest after vines cover the bed.
Planting slips correctly
Water slips first
Set the rooted nodes
Firm and water in
Mark the row ends
Watering and feeding
Sweet potatoes need consistent moisture during vine establishment (the first 3 to 4 weeks after transplanting) and during early root formation. Once vines are established and covering the ground, they are more drought-tolerant than most vegetable crops.
As harvest approaches, reduce supplemental watering so the soil is workable rather than saturated. Excess late moisture can encourage cracking and makes delicate roots harder to lift cleanly.
Avoid mid-season nitrogen feeding. If vines are extremely dark green and aggressively vigorous but harvest yields are disappointing, excess nitrogen is likely the cause. A single pre-plant application of phosphorus and potassium (the second and third numbers on fertilizer labels) supports root development without pushing vine growth.
Common problems
Wireworms tunnel into sweet potato storage roots, leaving cylindrical holes that allow rot to enter. They are larvae of click beetles and are most damaging in ground previously under grass or sod. Rotate out of affected beds. See wireworms.
Root-knot nematodes are microscopic soilborne pests that infect roots, causing knots and galls on the storage roots and stunted, yellowing plants. They are worst in warm, sandy soils in southern regions. Resistant varieties and crop rotation are the main management tools. Full details: root-knot nematodes.
Flea beetles feed on sweet potato foliage, leaving characteristic small round holes. Young vines are most vulnerable. Row cover during establishment helps; established vines tolerate moderate flea beetle pressure. See flea beetles.
Black rot is a fungal disease causing circular, dark lesions on storage roots. It spreads primarily through infected slips or soil. Using certified disease-free slips and rotating crops are the key preventive steps. See black rot.
Harvesting sweet potatoes
Use the maturity range on the sweet potato profile and the variety label to plan, then watch for vines beginning to yellow. Dig a test plant before committing the whole bed.
Do not wait for frost to actually hit the roots. A killing frost that damages the vines also starts to damage roots if the soil freezes. Harvest before the first hard frost.
How to harvest
Check a test root
Dig carefully
Handle gently
Cure immediately
Curing: the step that determines storage life
Curing is not optional. Uncured sweet potatoes last a few weeks; properly cured sweet potatoes last 6 to 12 months.
Curing conditions: 80 to 85 degrees F with 85 to 90 percent relative humidity for about one week. These conditions help a natural corky barrier form over cuts, cracks, and bruised spots while flavor develops.
Practical setup: a small room heater plus a tub of water or damp towels in a compact enclosed space can achieve these conditions. Monitor temperature and humidity rather than guessing, and keep air moving gently around the roots.
After curing, move roots to a cool (55 to 60 degrees F), dark, ventilated location. Do not refrigerate: temperatures below 50 degrees F damage sweet potato cell structure and cause off-flavors.
What is a sweet potato slip and where do I get one?
A slip is a rooted stem cutting that sprouts from a mature sweet potato. It is how all sweet potatoes are propagated: you do not plant the tuber itself, and sweet potatoes do not reliably grow from seed. Purchase certified disease-free slips from a mail-order seed company (they ship in spring), or grow your own by placing a sweet potato in warm water 4 to 6 weeks before your transplant date. Order early since slips sell out.
How should I handle bare-root sweet potato slips?
Unpack them promptly, rehydrate dry roots briefly, and keep them shaded until planting. Set the rooted section without bending it sharply, firm the soil around it, and water it in. A wilted leaf is not a reason to discard a slip if the stem and roots remain sound.
Why do sweet potato plants produce vines but no roots?
Excess nitrogen is a common cause because it directs energy into leaves and runners instead of storage roots. Compacted soil, repeated rooting of long vines, and a variety poorly matched to the local season can also reduce the crop. Avoid nitrogen-heavy fertilizer and keep the main crowns easy to identify.
Do I have to cure sweet potatoes after harvest?
Yes. Curing at 80 to 85 degrees F and 85 to 90 percent humidity for about one week helps wounds heal and improves flavor. After curing, move sound roots to the recommended cooler storage conditions and inspect them regularly for decay.
Can sweet potatoes grow in raised beds or containers?
Yes. Raised beds filled with loose, low-fertility soil mix work well. Fabric grow bags are also effective: they drain well, warm quickly in spring, and make harvest easy. Use a large bag (5 gallons or more per plant) and a low-nitrogen growing medium. Vines will trail over the sides and can be directed as needed.
What to do next
Start sweet potatoes with healthy slips in loose soil. Limit nitrogen, dig carefully, and cure the roots after harvest. Match the variety to the maturity window on the sweet potato profile.