Collards are a Southern garden staple that deserves a wider following outside the Southeast. They produce heavily over a long season, handle temperature swings that would stress most greens, improve in flavor after frost, and keep producing as long as you harvest consistently. They are also one of the most nutritionally dense vegetables in the brassica family. This guide draws on guidance from Clemson Extension, Texas A&M AgriLife, University of Minnesota Extension, and NC State Extension to give you accurate spacing, timing, and management details.
Why collards are worth growing everywhere
Most gardeners think of collards as a Southern crop, and it is true they are heat-tolerant enough to survive summer in zones 7-9 when kale bolts and spinach is long gone. But they are also cold-hardy to about 20 degrees F, meaning fall-planted collards in northern gardens will keep producing well into November and even December with the added bonus of improved sweetness from frost.
The flavor science behind the frost-sweetening effect is real: cold temperatures cause the plant to convert stored starches to sugars, reducing bitterness and mellowing the flavor. If you can time a fall planting to have mature plants when your first frosts arrive, you will harvest collards at their peak.
Check your frost dates and use the planting calendar for your zone to nail the timing.
Site and soil
Sunlight: Collards prefer full sun (6 or more hours) for maximum production. They tolerate partial shade better than most brassicas, but shade reduces leaf size and overall yield.
Soil: Collards are not demanding about soil texture, but they thrive in fertile, moist, well-drained soil with a pH of 6.0 to 6.8. According to Clemson Extension, adding 2 to 3 pounds of a balanced fertilizer (such as 8-16-16) per 100 square feet one to two weeks before planting gets the soil off to the right start. Work in compost at the same time to improve moisture retention.
Collards are heavy nitrogen consumers; that leafy, lush growth needs fuel. A nitrogen-rich soil or regular feeding is what keeps plants producing large, dark green leaves rather than small, pale ones.
Planting: two seasons, two windows
Collards belong in the cool-season garden, but their heat tolerance means you have more flexibility than with other brassicas.
Spring planting: Start seeds indoors 6 to 8 weeks before your last spring frost. Transplant into the garden 3 to 4 weeks before your last frost date (collards tolerate light frost at transplant size). Alternatively, direct sow as soon as the soil can be worked in early spring.
Fall planting (often the better crop): Direct sow or transplant so that plants reach maturity around or just after your first fall frost. For most gardeners, this means sowing about 8 to 10 weeks before your average first fall frost. Texas A&M AgriLife and Clemson Extension both recommend this timing for fall collards. The planting calendar will calculate the exact sowing date for your location.
Sowing and transplanting collards
Prepare the bed
Work soil to 6-8 inches deep. Incorporate compost and a balanced fertilizer 1-2 weeks before planting. Collards are deep-rooted and benefit from loose, fertile ground.
Direct sow depth
Plant seeds 0.25 to 0.5 inches deep. Sow 2 to 3 seeds per spot at final spacing and thin to the strongest seedling.
Transplant depth
Set transplants at the same depth they were growing or slightly deeper. Water in well immediately.
Spacing
Space plants 15 to 18 inches apart in rows 18 to 30 inches apart for full-sized plants harvested leaf by leaf. If you plan to cut whole young plants, 10 to 12 inches apart is fine.
Water in
Consistent moisture at planting and through establishment prevents transplant shock. Collards wilt dramatically in dry heat but recover quickly with water.
Thin promptly
If direct sowing, thin to final spacing once seedlings are 3 to 4 inches tall. Crowding reduces leaf size and invites disease.
Watering and feeding
Collards are thirsty plants. Target 1 to 1.5 inches of water per week during the growing season. In hot weather, you may need to water more frequently; wilting in afternoon heat is common and recovers overnight, but chronic drought stress produces tough, bitter leaves. Consistent moisture is what keeps leaves tender and sweet.
For fertilizing, Clemson Extension recommends side-dressing with nitrogen about 3 to 4 weeks after transplanting and again mid-season. A balanced granular fertilizer or compost tea applied every 3 to 4 weeks keeps plants actively producing. Yellowing of older leaves is often a nitrogen deficiency signal in actively growing collards.
Mulching with 2 to 3 inches of straw or shredded leaves around plants conserves moisture, moderates soil temperature in summer heat, and reduces the watering burden significantly.
How to harvest: bottom-up is the method
This is the detail that separates a two-month harvest from a six-month one. Do not cut the whole plant. Instead, harvest individual leaves from the bottom of the stalk upward, always leaving the top growing tip (the apical meristem) and several young leaves intact. The plant will continue growing from the top while you harvest from the bottom, and a single planting can produce for months.
When to start harvesting: Begin when leaves are 8 to 10 inches long and dark green. Smaller leaves are tender; larger leaves are tougher and more strongly flavored. Pick before leaves reach 10 to 12 inches for the best texture.
How many to take: Remove 4 to 6 outer leaves per plant per harvest. Never take more than a third of the plant's total leaf area at once; the remaining leaves are what power continued growth.
After frost: Harvest regularly after the first fall freezes; frost-sweetened leaves are at peak quality. Plants will keep producing through light and medium freezes. In zones 6 and warmer, fall-planted collards often produce well into winter.
Common problems
Caterpillars are the most significant pest for collards. Cabbage worms (the larva of the white cabbage butterfly), imported cabbage worm, and cabbage loopers all feed on brassica leaves and can quickly shred a planting if unmanaged. Check the undersides of leaves for eggs and small caterpillars. Hand-pick if populations are low; treat with Bt (Bacillus thuringiensis) if they are widespread.
Flea beetles are small, jumping beetles that riddle young seedlings with tiny holes. They are most damaging to transplants and can stunt or kill young plants. Row cover at planting is the most effective preventive tool.
Aphids occasionally cluster on young growth, especially in spring. A firm jet of water or a spray of insecticidal soap handles most infestations. Clubroot is a serious soil-borne disease that swells roots and stunts plants, most common in acidic soils; maintaining pH above 6.5 and avoiding planting brassicas in affected soil for several years helps. Black rot causes V-shaped yellow lesions at leaf margins and is spread by infected seeds or contaminated soil; buy certified disease-free seed and avoid overhead irrigation.
Varieties worth knowing
Georgia Southern is one of the oldest and most widely grown collard varieties, with large, broad leaves and strong heat tolerance. Blue Max is more upright and compact, good for smaller gardens. Champion is an improved variety with good cold tolerance. Vates is slow to bolt and a good choice for spring plantings. All are broadly available and reliable.
Companion planting
Collards fit naturally into companion planting schemes with aromatic herbs. Planting dill, thyme, or sage nearby can confuse or deter aphids and cabbage butterflies. Pairing with kale gives you a similar management system with harvest variety. Avoid planting near other brassicas if clubroot or black rot has appeared in the bed.
When should I plant collards?
Collards can be planted twice: in early spring, 3-4 weeks before your last frost for a summer crop; and again in midsummer, about 8-10 weeks before your first fall frost for a fall and early-winter crop. Use our planting calendar to calculate exact dates for your location. Many gardeners find fall crops far superior in flavor.
Do collards taste better after frost?
Yes. Cold temperatures trigger the plant to convert stored starches into sugars, noticeably reducing bitterness and sweetening the flavor. Leaves harvested after one or more hard frosts are at their peak. This is why timing a fall planting to mature around your first frost date is worthwhile.
How do you harvest collards so the plant keeps producing?
Pick individual leaves from the bottom of the stalk upward, always leaving the growing tip and several younger leaves at the top intact. The plant continues growing from the top as you harvest from the bottom. Remove 4 to 6 outer leaves per plant per picking and avoid taking more than a third of the plant at once. This method can keep a single planting producing for 3 to 6 months.
How much space do collards need?
Space plants 15 to 18 inches apart in rows 18 to 30 inches apart for full-sized plants you will harvest leaf by leaf over a long season. Tighter spacing (10 to 12 inches) works if you plan to cut whole plants when they reach half size.
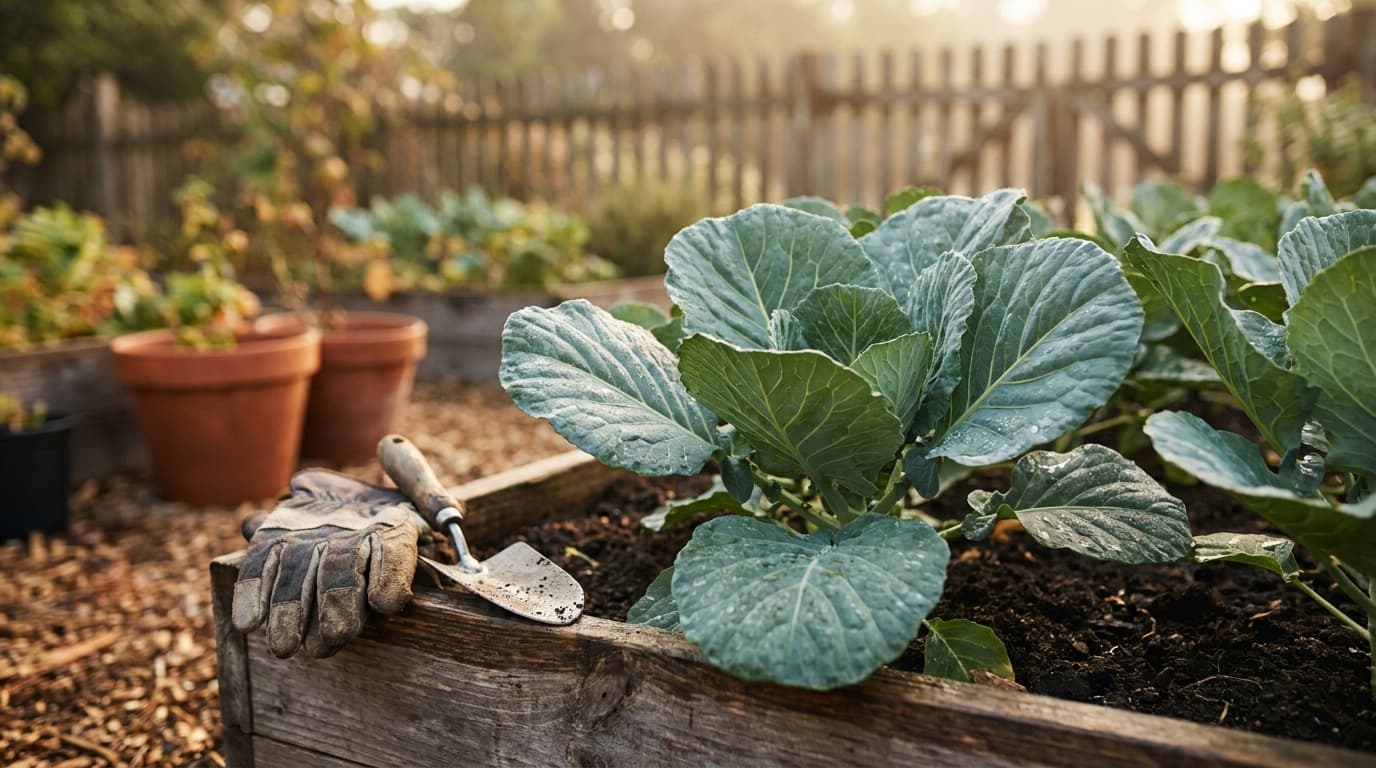
Can I grow collards in raised beds?
Yes, and they work well in raised beds. The improved drainage, warmer soil in spring, and easy access for harvesting are all advantages. Give each plant the same 15 to 18-inch spacing and make sure the bed is at least 8 to 10 inches deep for good root development. Our raised-bed-gardening-for-beginners guide has setup details.
The bottom line
Collards are among the most reliable, long-producing greens in the home garden. Time a fall planting to mature around your first frost, harvest consistently from the bottom up, and protect young plants from caterpillars and flea beetles. The reward is months of sweet, cold-weather greens that improve right through the first hard freezes. See the collards plant profile for zone-specific timing and the planting calendar for exact sowing dates at your location.