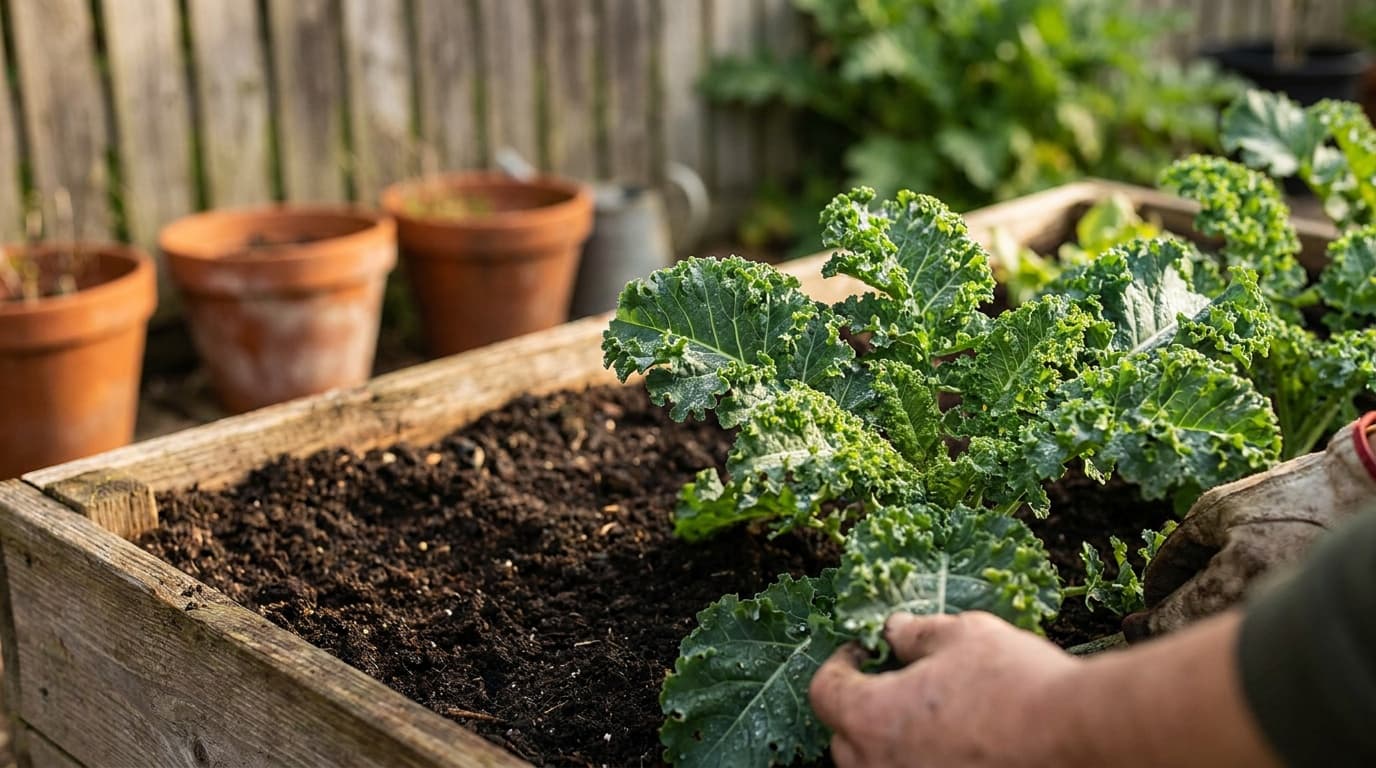
Kale is forgiving, but a productive plant is not the same as a neglected one. The main stem keeps making leaves from its center while older leaves fan outward. That growth pattern tells you how to care for it: protect the crown, remove damaged lower foliage, keep the roots steady, and harvest in a way that never strips the plant bare.
Use the kale plant profile for exact local dates, bed layout, sowing depth, light and soil values, water rate, zone fit, and expected maturity. This guide owns the practical decisions after you choose where and how the crop fits your garden.
Choose a harvest style before planting
Kale can be managed for tender young leaves, repeated full-leaf harvests, or eventual whole-plant use. Decide which outcome matters because it changes how you thin, weed, and harvest, even though the exact bed layout belongs in the plant profile.
For repeated harvests, give each selected plant room to develop a stable crown and accessible outer leaves. For young-leaf production, manage the bed as a short-cycle stand and cut evenly. Mixing both approaches in the same small patch often creates uneven competition and makes harvest less efficient.
Curly types hold dressings and stand up well to cooking. Flat-leaf and deeply cut types are often easier to clean and can feel more tender. The best choice is the one that matches how you plan to harvest and eat it, not simply the largest-looking seed packet photo.
Establish the crown without a growth check
Work finished compost into a well-drained bed and remove heavy clods. Kale tolerates a range of soil textures, but roots cannot function well in standing water. Rotate the bed away from recent broccoli, cabbage, cauliflower, collards, turnips, and Brussels sprouts because the whole brassica family shares disease and pest pressure.
Direct-sown kale should emerge into a fine, evenly moist seedbed. Once seedlings are established, select the strongest plants and remove extras without tearing the roots you intend to keep. Transplants should be acclimated gradually, watered before handling, and planted with the root plug intact.
For containers, use a stable pot with free drainage and enough soil volume to resist rapid drying. The container gardening guide covers mix, drainage, and irrigation setup. Put the exact crop values from the kale profile into that plan rather than relying on a second set of numbers here.
Protect new leaves before damage compounds
Flea beetles can pepper small leaves with holes, while cabbage worms and loopers chew larger sections and leave frass near the crown. Install floating row cover before the pests arrive, secure the edges, and inspect beneath it during routine care.
Some links on this page are affiliate links. As an Amazon Associate I earn from qualifying purchases.
Caterpillar and flea beetle barrier
Agribon AG-19 Floating Row Cover
Best for: Gardeners who want cheap frost protection and pest exclusion in one fabric.
Keep in mind: Lightweight fabric tears and wears over seasons
Amazon price as of the checked date, subject to change. The price on Amazon at checkout applies.
Full research
- Weight
- 0.55 oz per sq yd
- Frost protection
- Down to roughly 28F
- Light transmission
- About 85%
- Material
- Spun-bonded polypropylene
A lightweight spun-bonded row cover that drapes over crops to add a few degrees of frost protection while still letting in light and water. It doubles as a physical barrier against many insect pests.
This catalog-wide research score is separate from this guide's use-case ranking. How we research
Strengths
- Extends the growing season at both ends
- Excludes many pests without chemicals
- Passes most light and water so it can stay on
Weaknesses
- Lightweight fabric tears and wears over seasons
- Needs hoops or pins to stay put in wind
Sprout Score breakdown
Best for
Gardeners who want cheap frost protection and pest exclusion in one fabric.
Remove isolated caterpillars and eggs by hand. For active feeding, use the flea beetle, imported cabbage worm, or cabbage looper guide after confirming the culprit. Broad treatment without identification can miss the pest and disrupt beneficial insects.
Aphids tend to gather on tender new growth and leaf undersides. A firm water spray can dislodge a small colony. Recheck the folded center leaves afterward because survivors hidden near the crown can rebuild the infestation.
Maintain leaf quality through changing conditions
Keep the root zone from swinging between dry and saturated. Check moisture by touch and irrigate the soil before plants wilt. Mulch can reduce evaporation and soil splash, but pull it back from the stem so the crown remains visible and dry.
Judge fertility by color and pace. A plant producing evenly colored leaves needs no automatic boost. Broad paling with healthy roots may justify a modest balanced feeding. Yellowing limited to the oldest lower leaves is often ordinary leaf aging, especially when the center remains vigorous.
Remove lower leaves that touch the soil, show disease, or have become too damaged to use. This improves access and airflow. Do not remove healthy leaves simply to make the stem look tidy; every retained leaf supports new growth.
Harvest without exhausting the plant
Pick the oldest tender leaves from the outside, snapping or cutting each one close to the stem without peeling bark or nicking the crown. Move around the plant so the remaining canopy stays balanced. Leave the center and enough working foliage for recovery.
Harvest leaves before they become coarse, heavily scarred, or yellow. Older leaves can still be useful for cooking if their texture is sound. Younger leaves suit salads and quick cooking. Repeated, moderate picking produces better quality than waiting and stripping a large neglected plant all at once.
For a whole-plant harvest, cut the stem cleanly above the soil. A sound stump may produce small new shoots, but treat that as a bonus rather than the main plan. Remove plants with severe disease, a damaged crown, or declining leaf quality and reset the bed cleanly.
Troubleshoot by looking at new growth
Kale field checks
New leaves are chewed
Lower leaves turn yellow
Leaves become coarse or bitter
Plant wilts in moist soil
Center growth stops
How do I harvest kale so it keeps producing?
Take the oldest usable outer leaves and leave the central growing point untouched. Keep enough healthy foliage on the plant to support recovery. Regular moderate harvests are easier on the crown than occasional stripping.
Why are kale leaves full of holes?
Small scattered holes suggest flea beetles, while larger irregular holes and frass point toward caterpillars. Inspect both leaf surfaces and the crown, identify the pest, then use exclusion or the matching problem guide.
Why are my kale leaves tough or bitter?
Leaves become coarser as they age, and stress can reduce eating quality. Harvest younger outer leaves, keep root conditions steady, and replace plants whose new growth no longer has the texture or flavor you want.
Can kale recover after the center is damaged?
Minor injury may allow side shoots to form, but a destroyed or rotting crown often ends reliable production. Remove damaged tissue, watch for clean new growth, and replace the plant if decline continues.
Kale's strength is repeatability. Preserve the center, harvest from the outside, and respond to the condition of new growth. That approach keeps the plant useful without turning routine care into a rescue project.