There are real reasons to start seeds indoors instead of buying transplants: far more variety, a big head start on the season, and seedlings grown exactly how you want them. It is also genuinely easy once you understand the few things that actually matter. Most failures come down to two mistakes, sowing at the wrong time and not giving enough light, and both are simple to fix.
Timing is the whole game
The most important decision happens before you open a seed packet: when to sow. Start too early and your seedlings get leggy and root-bound waiting for spring; start too late and you lose the head start entirely. Everything keys off your last spring frost date.
Most seed packets tell you to start a crop a certain number of weeks before your last frost (tomatoes around 6 to 8 weeks before, peppers 8 to 10, and so on). To use that, you need to know your actual last frost date, which depends on where you live.
What you actually need
You do not need much, but a few things make a real difference between a strong tray and a struggling one.
The short shopping list
A seed-starting mix
A light, sterile, well-draining mix, not garden soil and not heavy potting soil, which hold too much water and invite damping off.
Trays that drain
Cell trays or pots with drainage, ideally durable ones you can reuse and clean between seasons.
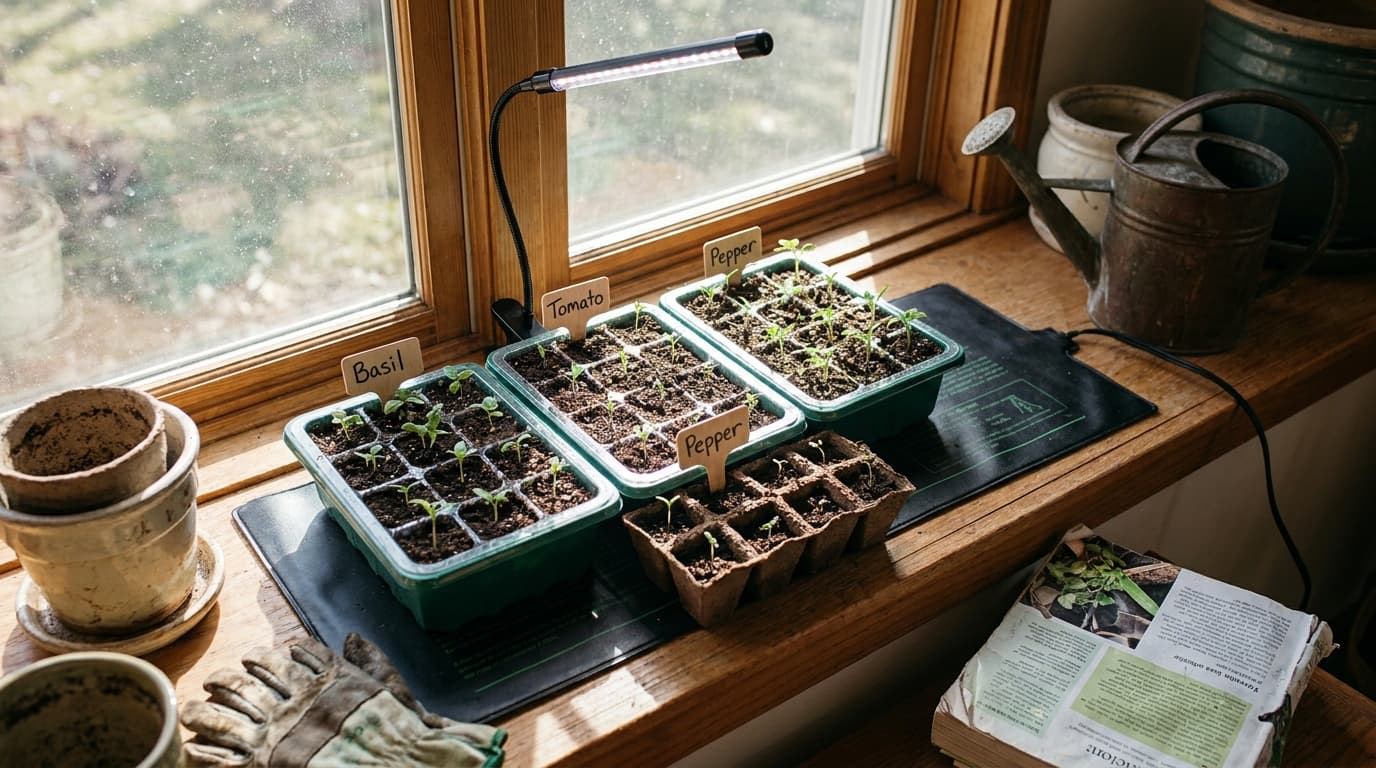
A strong light
An LED grow light you can keep a few inches above the seedlings. A windowsill is almost always too dim.
Gentle bottom heat
A seedling heat mat for warm-season crops like tomatoes and peppers, which germinate faster and more evenly when warm.
A humidity dome
A vented dome to hold moisture for germination, then open it once sprouts appear.
Trays and mix
Reusable trays that drain well are the foundation. They pair with any insert, dome, and heat mat, and unlike flimsy disposable trays they survive scrubbing and reuse, which also keeps damping-off pathogens from carrying over.
Warmth for germination
Warm-season seeds germinate slowly and unevenly in a cool room, and slow germination is exactly when seeds are most at risk of rotting. A heat mat under the tray holds the root zone warm so seeds come up fast and strong.
Light is non-negotiable
This is where most first-time seed starters go wrong. A south-facing window simply does not deliver enough light in late winter, and seedlings respond by stretching tall, thin, and weak. A grow light like the dimmable Spider Farmer SF-1000 kept just a few inches above the canopy keeps stems short and stocky.
Humidity for sprouting, then air
A vented dome traps the humidity seeds need to germinate, and the vents let you open it up the moment sprouts appear so the surface dries and air can move. That switch from humid to airy is what keeps seedlings healthy after they emerge.
The step-by-step process
From seed to seedling
Fill and moisten
Fill cells with seed-starting mix and pre-moisten it so it is damp like a wrung-out sponge, not soggy. Dry mix repels water and is hard to wet evenly later.
Sow at the right depth
Plant seeds at the depth the packet calls for, usually about two to three times the seed's width. Tiny seeds barely get covered; bigger seeds go a little deeper.
Cover and warm
Set the vented dome on top and, for warm-season crops, put the tray on a heat mat. Keep the mix moist but never waterlogged.
Light up at emergence
As soon as sprouts appear, get them under the grow light, just a few inches above, and open the dome vents. Aim for roughly 14 to 16 hours of light a day.
Bottom water
Water by setting the tray in a shallow layer of water so the mix wicks up moisture and the surface stays drier. Let it drain fully afterward.
Thin and feed
Thin to the strongest seedling per cell, and once true leaves appear, feed with a dilute, gentle fertilizer if your mix is low on nutrients.
Hardening off, the step people skip
Indoor seedlings have never felt direct sun, wind, or temperature swings, and moving them straight outside will shock or scorch them. Hardening off is a gradual introduction over about 7 to 10 days: set them outside in a sheltered, shady spot for an hour or two the first day, then add time and sun exposure each day until they handle a full day out. Then they are ready to transplant.
Time the move using your frost-free date. Tender crops should not go out until after your last frost has reliably passed, which the planting calendar maps out for your location.
Good crops to start indoors
Warm-season crops that need a long runway are the classic indoor starters. Tomatoes and peppers are the headline crops, both wanting bottom heat and a head start of a couple of months before transplant. Eggplant, basil, and many flowers follow the same playbook. Fast, cold-tolerant crops like lettuce and radish are often easier to sow directly outdoors, though you can start lettuce inside for an early jump.
When should I start seeds indoors?
Work backward from your average last spring frost date. Most seed packets list how many weeks before last frost to sow each crop (tomatoes around 6 to 8 weeks, peppers 8 to 10). Look up your frost date, then use a planting calendar for your ZIP to turn those week counts into real calendar dates, since timing depends entirely on your location.
Can I start seeds indoors without a grow light?
You can try with a very bright south-facing window, but in late winter most windows do not provide enough light, and seedlings stretch tall, thin, and weak. An inexpensive LED grow light kept a few inches above the seedlings is the single biggest upgrade for sturdy, healthy starts.
Do I need a heat mat to start seeds indoors?
Not for everything, but it helps a lot for warm-season crops like tomatoes and peppers, which germinate slowly and unevenly in a cool room. Faster germination also means seeds spend less time vulnerable to rot. Cool-season crops germinate fine at normal room temperature without one.
What is the best soil for starting seeds indoors?
Use a light, sterile seed-starting mix, not garden soil or heavy potting soil. Garden soil compacts and can carry disease, and heavy mixes hold too much water, which invites damping off. A fine, well-draining seed-starting mix gives tender roots air and lets excess water escape.
The bottom line
Indoor seed starting rewards two habits above all: sow on a schedule built from your own frost date, and give the seedlings strong light from close overhead. Add gentle warmth, drainage, and a patient hardening off, and you will move sturdy, healthy transplants into the garden right on time.