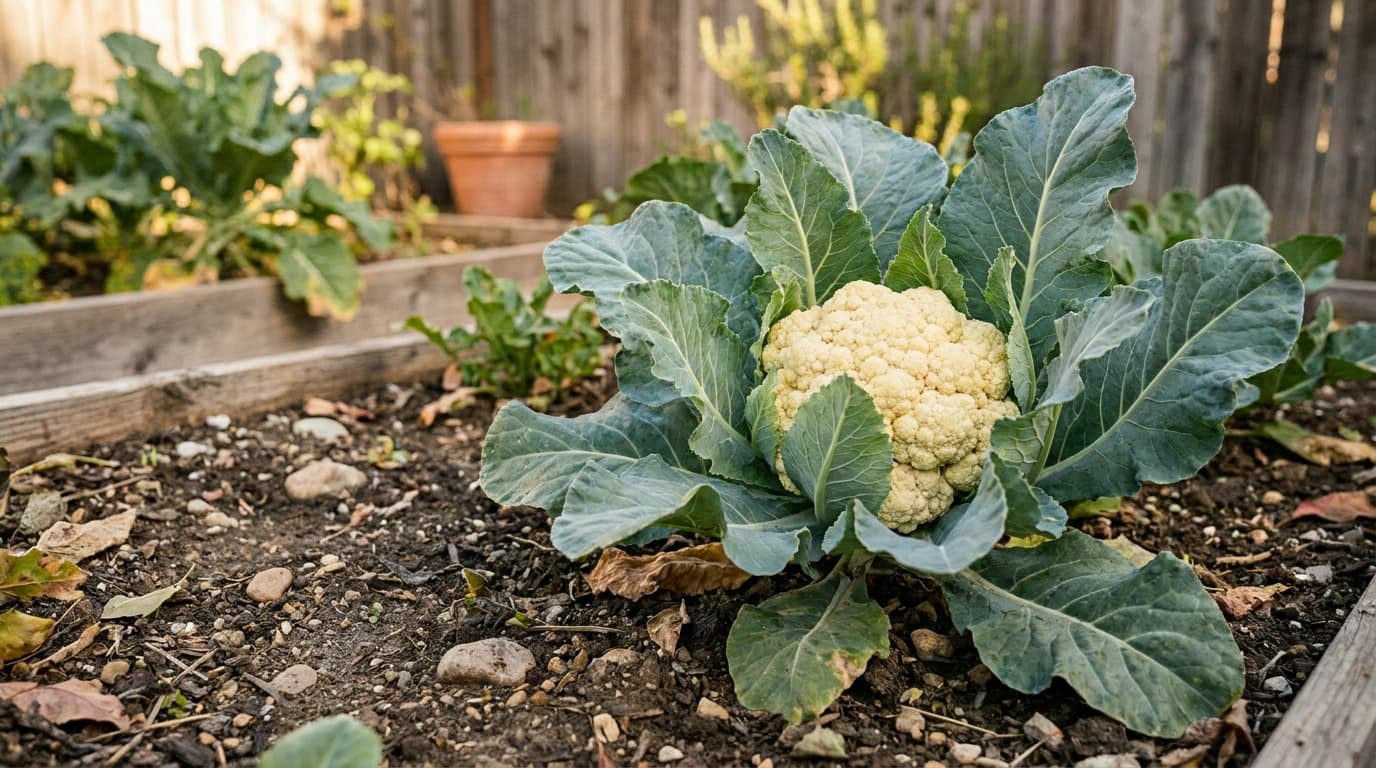
Cauliflower has a reputation for being difficult, and that reputation is mostly fair. Of all the brassicas, it is the most particular about temperature. Let it get too warm during curd development and you get loose, ricey, discolored heads with off-flavor. Get the timing right and keep the moisture consistent, and you get the dense, white, sweet cauliflower that tastes nothing like the sad florets from a plastic bag.
The good news: most of the difficulty is solved at planting time. Choose the right season, pick the right variety, and the plant does the rest as long as you keep it watered.
See the cauliflower plant profile for variety recommendations by season. The broccoli guide, cabbage guide, and Brussels sprouts guide all share the same brassica framework.
When to plant cauliflower
Cauliflower needs the curd to develop in temperatures between 50 and 70 degrees F. That means you are targeting either an early summer harvest from a spring planting or, more reliably, a fall harvest from a midsummer planting.
Spring crop: Start seeds indoors in early April. The University of Minnesota Extension recommends transplanting in early to mid-April for spring-planted cauliflower, and not transplanting sooner than 2 to 3 weeks before your average frost-free date. Choose a heat-tolerant, short-season variety (50 to 60 days). 'Snow Crown' is the standard recommendation for spring. The spring window is narrow and variety selection is critical.
Fall crop (recommended): Start seeds indoors or direct-sow in the garden in early to late July. Transplant in August so plants have time to size up before the curd begins forming in cool fall weather. Fall cauliflower holds better in the field and develops richer flavor. Most of the country has better luck with the fall crop.
Site and soil
Full sun: 6 or more hours per day. Cauliflower in less than that produces smaller, looser heads and takes longer to mature.
Soil: well-drained but moisture-retentive, rich in organic matter, pH 6 to 7. Cauliflower is not worth growing in poor, thin soil. If you are growing in raised beds with good amended mix, you are probably in good shape. In native soil, add generous compost and test your pH before planting.
Avoid ground where any brassica (cabbage, broccoli, Brussels sprouts, kale, turnip, radish, mustard) grew in the past 4 years. The crop rotation guide explains why: clubroot spores persist in soil for years and brassicas in the same ground accumulate them. Black rot is the same story.
Starting transplants indoors
Cauliflower is almost always grown from transplants, not direct-seeded, for spring crops. For fall crops you can direct-seed in July, but transplants give you better control.
Starting cauliflower transplants
Fill cells, sow 1/4 to 1/2 inch deep
Use sterile soilless mix. Do not use bottom heat; cauliflower germinates and grows well at summer room temperatures. Seeds germinate in about two weeks.
Light immediately at emergence
Get them under grow lights as soon as sprouts appear, keeping the light close to prevent stretching.
Fertilize at first true leaf
Half-strength liquid fertilizer at the first true leaf, twice weekly once two true leaves appear.
Harden off before transplanting
After 4 to 5 true leaves (about 4 weeks from sowing), begin hardening off: sheltered spot outside, increasing sun and wind daily over a week. Keep well watered during this period.
Transplant 18 inches apart
Set each transplant at the depth it was growing in the cell. Water in with a phosphorus-rich starter solution. Apply row cover if available.
For more on the full indoor-to-outdoor process, see how to start seeds indoors and how to harden off seedlings.
Spacing
Space plants 18 inches apart within rows (UMN Extension). For fall plantings with larger-heading varieties, you can go 18 to 24 inches. Rows 24 to 30 inches apart. In intensive raised beds, 18 inches in all directions works, though the tighter you go the more you need to stay on top of moisture and fertility.
Use the spacing calculator to figure out how many transplants fit your bed before you order.
Watering and feeding
This is where most cauliflower fails. The plants must not experience drought stress, ever. Moisture stress at any point in the growth cycle causes poor texture, loose curds, and off-flavors. If plants run dry during curd development, you may get no curd at all, or a very small, discolored one.
Provide 1 inch of water per week from rain or irrigation. On sandy soils, water more frequently. Mulch 3 to 4 inches deep to hold soil moisture and moderate temperature. The mulching guide covers technique.
Side-dress with a balanced fertilizer when plants are about 4 inches tall. Organic choices like a balanced granular fertilizer worked into the soil surface around the plants work well for this steady, high-demand crop.
Blanching white varieties
White cauliflower develops its clean color, mild flavor, and firm texture because the curd grows shielded from direct sunlight. If you leave a white variety uncovered, the curd will turn yellow or purple and develop stronger flavor. You need to blanch it.
How to blanch white cauliflower
Watch for the curd
Check your plants daily once they reach full size. When the curd is visible at the center and about the size of a golf ball, it is time to blanch.
Tie outer leaves
Gather the large outer leaves over the curd and secure them loosely with twine, a rubber band, or a clothespin. The goal is shade, not airless compression. Leave a little gap for air circulation.
Harvest before the curd loosens
White curds blanched in spring weather are ready to harvest in 3 to 7 days. In cool fall weather, it may take 1 to 2 weeks. Check regularly. A curd that has waited too long will become loose, grainy, or develop an off-color.
Common problems
Cauliflower shares pests with all brassicas, and its curds create a new surface for problems to hide.
Imported cabbage worms and cabbage loopers: Caterpillars that feed on leaves and can burrow into the forming curd. Check plants and the underside of leaves weekly. Bacillus thuringiensis (Bt) applied when larvae are small is the standard organic control. Floating row cover from transplant day prevents the moths from laying eggs in the first place.
Flea beetles: Pinholes in seedling leaves, most damaging to young transplants. Row cover is the best defense during the first few weeks.
Cabbage maggots: Root-feeding fly larvae. Same prevention: row cover at planting, anchored at all edges.
Aphids: Can hide deep in leaves near the developing curd. Knock off with a firm water spray or treat with insecticidal soap.
Diseases: clubroot, black rot, and downy mildew are the main threats. Crop rotation, certified disease-free transplants, and dry foliage overnight handle most of it.
Disorders specific to cauliflower:
Tipburn: brown, papery edges on inner leaves, caused by calcium deficiency under rapid growth. Consistent watering and fertility help prevent it.
Small or loose curds: almost always heat or drought stress, or transplanting too late into warming weather. This is why fall crops outperform spring in most climates.
Hollow stem: more common in fast-growing conditions with excess nitrogen. Not harmful but indicates overly rapid growth.
Harvesting
Harvest cauliflower when heads reach a usable size and the curd is still tight and compact, before individual florets begin to loosen or flower buds begin to open. Cut the head above ground level with a sharp knife and remove the wrapper leaves.
Spring-planted heads need to be harvested promptly once ready because warm weather causes rapid loosening. Fall heads hold better in the field; colder temperatures slow the process. If you are in doubt, harvest.
Cauliflower keeps about 1 week in the refrigerator. For longer storage, blanch and freeze.
Why is cauliflower considered difficult to grow?
The main challenge is temperature. The curd (the edible head) only develops properly in a cool window between 50 and 70 degrees F. Heat during curd development causes loose, discolored, off-flavored heads. This means timing is critical: the spring window is narrow and variety-dependent, and fall crops generally produce better results for most gardeners because the plants build size in warmth and then form curds as temperatures drop naturally.
When should I plant cauliflower?
For spring, start transplants indoors in early April and set them out 2 to 3 weeks before your average last frost, choosing a short-season variety (50 to 60 days). For fall, start seeds in early to mid-July and transplant in August. The frost dates tool and planting calendar will give you exact dates for your ZIP code.
Do I need to blanch cauliflower?
Only white varieties. Once the curd is visible and golf-ball size, gather the outer leaves over the top and tie them to keep out light. This keeps the curd white and mild-flavored. Colored varieties (orange, purple, green Romanesco) need full sun to develop their color and should not be tied. Self-blanching varieties fold their leaves naturally and need no tying.
How far apart should I space cauliflower?
18 inches between plants, 24 to 30 inches between rows, based on UMN Extension guidance. In raised beds, 18 inches in all directions. Crowding reduces head size and increases humidity around plants, which invites disease. Use the spacing calculator before you plant.
Why did my cauliflower produce a tiny head and then stop?
This is called "buttoning" and it usually means the plant experienced stress early in its life: cold temperatures at transplanting, root disturbance, drought stress, or poor nutrition. A tiny plant that thinks it has been through a difficult "winter" will try to flower and set seed before it is fully grown. To prevent it, harden off transplants well before setting out, transplant carefully without disturbing roots, keep plants well watered from day one, and time planting so young transplants are not hit by hard frosts.