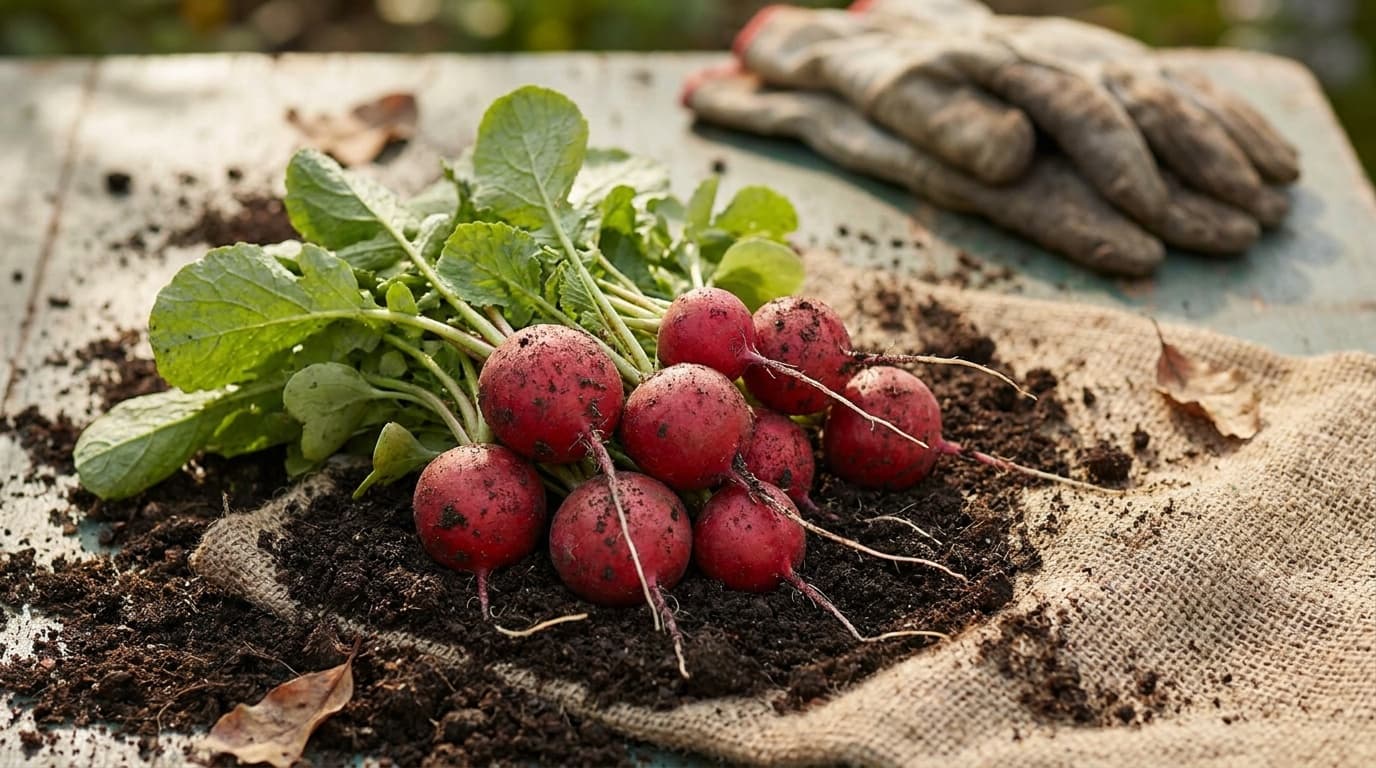
Radishes are beginner-friendly because the work is visible. A crowded row produces poor roots. A dry spell can make the flavor harsher. A missed harvest becomes pithy. Each mistake has a clear correction in the next small sowing.
For the local sowing window, seed depth, mature plant layout, water benchmark, soil range, and harvest estimate, use the radish plant profile. The planting calendar turns that profile data into dates for your ZIP, and the frost dates tool shows the local seasonal anchors behind them.
Prepare a root-friendly bed
Radishes form best where the root can expand without meeting stones, hard clods, or a compacted layer. Rake the surface fine, remove debris, and break up crusted soil before sowing. Compost can improve structure, but fresh manure and heavy nitrogen feeding encourage leaf growth rather than a clean root.
A raised bed is useful when native soil is dense or rocky. Standard round radishes need less soil volume than long daikon types, so choose a container or prepared bed that matches the variety's root shape. After checking the profile's recommended layout, the spacing calculator can estimate how many plants fit the bed.
Sow and thin with minimal disturbance
Direct sow where the crop will finish. Firm the soil lightly after covering the seed so moisture reaches it evenly, then water with a gentle spray that does not expose or move the seed.
Radish seedlings often emerge densely. Thinning is the critical intervention because each swelling root needs an undisturbed pocket of soil.
Thin a radish row cleanly
Wait for a clear stand
Choose evenly distributed keepers
Snip the extras
Settle the surface
Build a useful succession
Small batches are easier to harvest at peak quality than one oversized row. A succession every 10 to 14 days creates a steady supply without leaving too many mature roots waiting in the ground. Stop adding batches when the calendar shows that the remaining season no longer suits the crop, then resume when local conditions return to the profile's preferred window.
Keep each sowing identifiable with a short label or garden note. Once the first batch is ready, its performance tells you whether the next batch needs a thinner stand, steadier moisture, or a different variety. The broader succession planting guide helps fit those batches around slower crops.
Radishes can also mark rows of slow-germinating carrots. Harvest the radishes promptly so the carrots inherit the space rather than competing for it.
Manage moisture and fertility
Keep the root zone evenly moist rather than cycling between dusty soil and saturation. Dryness can make roots pungent or pithy, while a sudden soaking after dryness can split them. Check the soil with a finger and water at the base when it begins to lose moisture. The exact benchmark belongs in the plant profile because weather and soil texture change how often irrigation is needed.
Most compost-amended beds do not need additional feeding for this crop. If leaves are lush but roots fail to swell, stop feeding and check crowding, light, and moisture before adding anything else.
Diagnose common failures
All tops and little root: The usual causes are crowding, excessive nitrogen, or inadequate light. Correct the stand first, then review the bed rather than trying to force growth with fertilizer.
Pithy, hollow, or sharply flavored roots: Heat, uneven moisture, and delayed harvest are the common pattern. Pull a test root sooner from the next succession.
Cracked roots: A dry period followed by a large drink can split fast-growing roots. More consistent irrigation is the correction.
Tiny holes in leaves: Flea beetles chew a shot-hole pattern. Young plants are most vulnerable, so exclude the beetles from the start.
Tunnels or decay in roots: Cabbage maggots feed below ground. Rotate away from brassica-family crops and prevent the adult flies from reaching the seedbed.
A sudden flower stalk: Bolting ends useful root development. Harvest any acceptable roots and replace that batch when conditions suit the crop again.
Small cylindrical holes: Ground that recently held turf may harbor wireworms. Confirm the pest before changing the bed plan.
Some links on this page are affiliate links. As an Amazon Associate I earn from qualifying purchases.
Beats flea beetles and maggots
Agribon AG-19 Floating Row Cover
Best for: Gardeners who want cheap frost protection and pest exclusion in one fabric.
Keep in mind: Lightweight fabric tears and wears over seasons
Amazon price as of the checked date, subject to change. The price on Amazon at checkout applies.
Full research
- Weight
- 0.55 oz per sq yd
- Frost protection
- Down to roughly 28F
- Light transmission
- About 85%
- Material
- Spun-bonded polypropylene
A lightweight spun-bonded row cover that drapes over crops to add a few degrees of frost protection while still letting in light and water. It doubles as a physical barrier against many insect pests.
This catalog-wide research score is separate from this guide's use-case ranking. How we research
Strengths
- Extends the growing season at both ends
- Excludes many pests without chemicals
- Passes most light and water so it can stay on
Weaknesses
- Lightweight fabric tears and wears over seasons
- Needs hoops or pins to stay put in wind
Sprout Score breakdown
Best for
Gardeners who want cheap frost protection and pest exclusion in one fabric.
Harvest for crisp texture
Do not judge readiness by leaves alone. Brush soil away from a few shoulders, then pull one representative root. A good radish feels firm and looks moist and translucent when cut. If the center is cottony, hollow, or spongy, harvest the rest immediately and check the next succession earlier.
Harvest and store radishes
Sample before pulling the row
Lift without bruising
Remove the tops
Chill promptly
If a few plants bolt, their young seed pods are edible. You can also leave a healthy plant to mature seed, but keep it separate from the roots intended for eating.
Why are my radishes leafy but not forming good roots?
Crowding and excess nitrogen are the first things to check. Thin by snipping unwanted seedlings, stop high-nitrogen feeding, and confirm that the bed receives the light described in the radish plant profile.
Why are my radishes pithy or hollow?
They usually stayed in the ground after peak quality or experienced heat or moisture stress. Pull a test root earlier from the next succession and harvest the full batch as soon as the flesh is crisp.
Can I grow radishes in containers?
Yes. Match container depth to the variety's root shape, use a loose potting mix, and watch moisture closely because containers dry faster than garden beds. Round types are easier in shallow planters than long daikon types.
Do radishes need fertilizer?
Usually not in a bed already amended with compost. Too much nitrogen encourages tops instead of roots. If growth is weak, use a soil test and correct a demonstrated deficiency rather than feeding by habit.
What to do next
Radishes are a rhythm crop. Prepare a fine seedbed, thin without pulling, keep moisture steady, sample early, and harvest the batch when the first roots are crisp. Then apply what you learned to the next small succession.