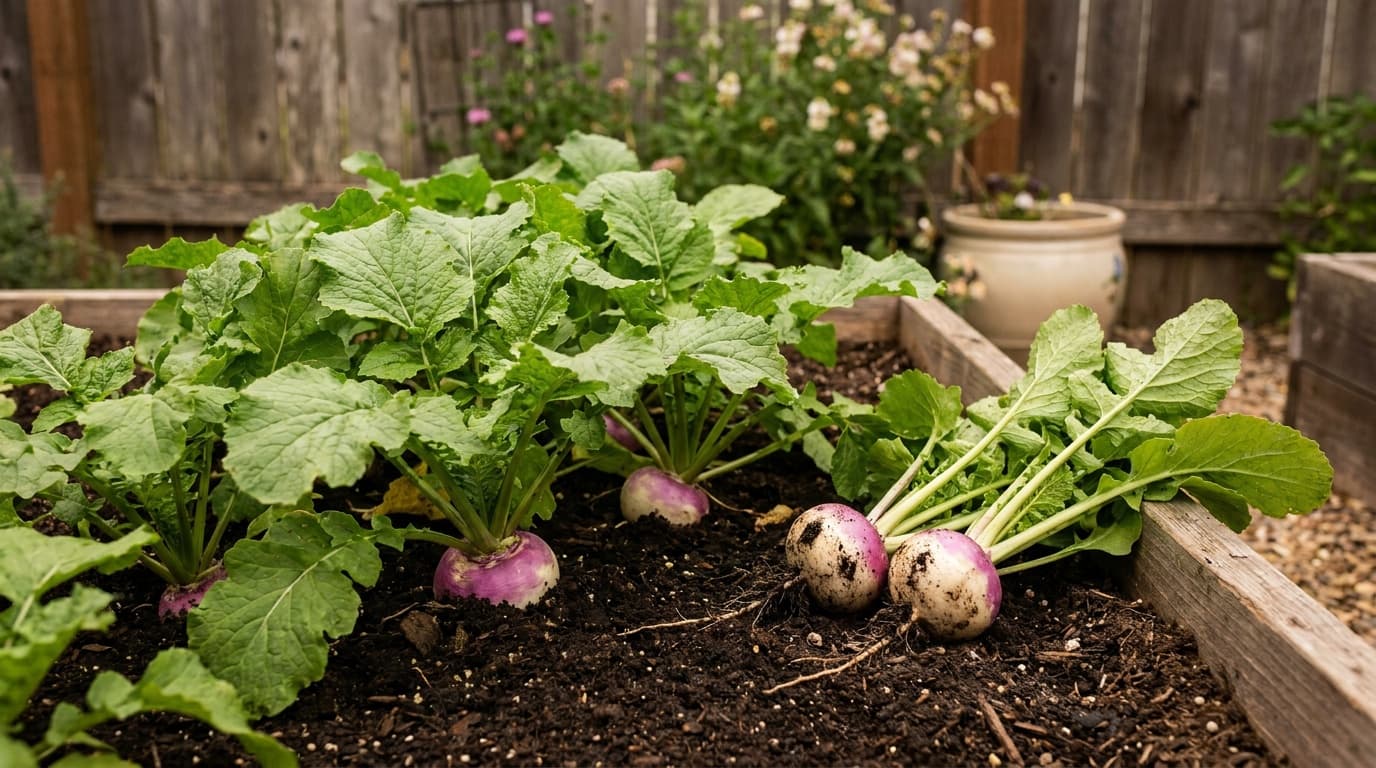
Turnips can be managed as a leaf crop, a root crop, or both. That choice changes the harvest sequence. Plants kept mainly for roots need an undisturbed taproot and enough room to swell. Plants kept for greens can be cut more freely, but severe defoliation reduces root development. Decide the primary goal before thinning so the bed does not drift into a poor compromise.
Use the turnip plant profile for exact local dates, bed layout, sowing depth, light and soil values, water rate, zone fit, and expected maturity. This guide explains root-bed preparation, dual-purpose harvest, feeding decisions, and pest diagnosis.
Prepare soil for an expanding root
Turnip roots show the condition of the soil around them. Remove stones, woody debris, and compacted clods before sowing. Work finished compost into the bed, but avoid fresh manure and heavy nitrogen applications that favor foliage over a clean root.
The soil should drain after rain while retaining even moisture. A raised bed is useful where native soil is dense or poorly drained. The raised bed guide covers construction, while building healthy garden soil explains how to improve an in-ground root bed.
Turnips are brassicas. Rotate them away from cabbage, broccoli, cauliflower, kale, collards, and Brussels sprouts as a family. Repeating related crops in the same ground can build clubroot and root-maggot pressure even when each individual vegetable looks different above ground.
Direct sow and thin without root disturbance
Rake the surface smooth, sow directly, and water gently enough to keep seed in place. Transplanting is unnecessary for a crop whose edible root depends on an uninterrupted start.
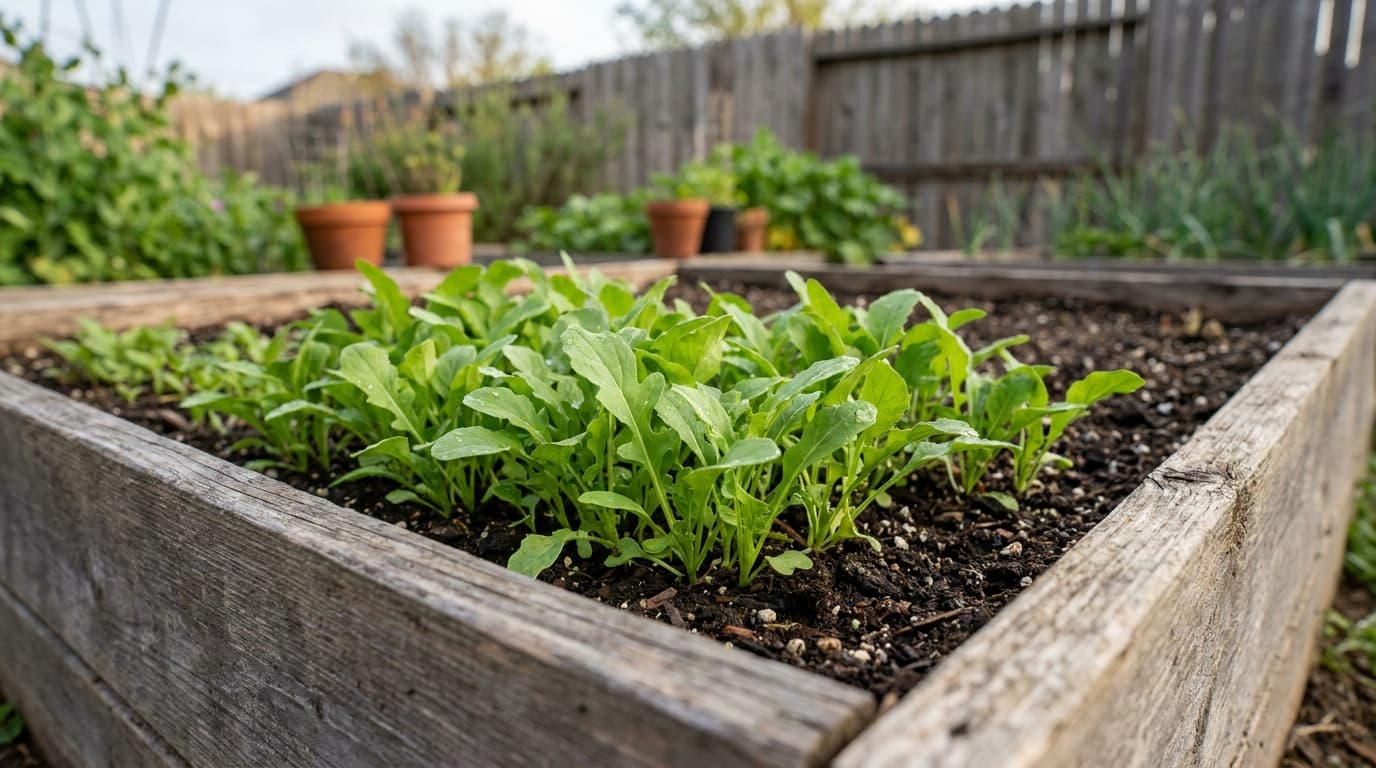
Once seedlings are established, thin by cutting extras at the soil line. Pulling crowded seedlings can bend or loosen the roots you intend to keep. Use the exact bed layout from the profile, and make the final stand uniform enough that shoulders can expand without plants pressing against one another.
Thinnings are edible. Wash healthy young leaves and use them as tender greens. If the bed's main goal is roots, avoid repeatedly stripping the retained plants after thinning. Their foliage supplies the roots below.
Balance greens and roots
For a dual-purpose harvest, take only sound outer leaves from selected plants and preserve the center. Spread the picking across the row so no root plant loses most of its canopy. Greens from removed seedlings do not create that tradeoff and are the easiest early harvest.
Keep moisture even as roots expand. Dry periods followed by heavy watering can contribute to cracking, pithiness, and a stronger flavor. Irrigate the soil rather than leaving the leaf canopy wet. Mulch can buffer the root zone, but keep the stem bases visible.
Compost-amended soil often carries the crop without extra fertilizer. If the whole stand is pale and slow while roots and drainage look sound, a modest balanced feeding may help. The existing Jobe's Organics Vegetable Fertilizer can be used according to its label. Avoid a high-nitrogen rescue application that produces tops without improving the root.
Block brassica pests at the bed
Flea beetles chew small holes in young leaves. Root-maggot larvae tunnel into the crop below ground, causing wilt, scars, and decay. Floating row cover placed over a clean bed before adult insects arrive can protect both the foliage and the soil near plant bases.
Some links on this page are affiliate links. As an Amazon Associate I earn from qualifying purchases.
Protects against flea beetles and maggots
Agribon AG-19 Floating Row Cover
Best for: Gardeners who want cheap frost protection and pest exclusion in one fabric.
Keep in mind: Lightweight fabric tears and wears over seasons
Amazon price as of the checked date, subject to change. The price on Amazon at checkout applies.
Full research
- Weight
- 0.55 oz per sq yd
- Frost protection
- Down to roughly 28F
- Light transmission
- About 85%
- Material
- Spun-bonded polypropylene
A lightweight spun-bonded row cover that drapes over crops to add a few degrees of frost protection while still letting in light and water. It doubles as a physical barrier against many insect pests.
This catalog-wide research score is separate from this guide's use-case ranking. How we research
Strengths
- Extends the growing season at both ends
- Excludes many pests without chemicals
- Passes most light and water so it can stay on
Weaknesses
- Lightweight fabric tears and wears over seasons
- Needs hoops or pins to stay put in wind
Sprout Score breakdown
Best for
Gardeners who want cheap frost protection and pest exclusion in one fabric.
Seal the edges and inspect underneath. Row cover cannot repair existing root damage, and it can protect pests that were already in the bed. Use the flea beetle guide for surface feeding and the cabbage maggot guide for tunneling and unexplained wilt.
Cabbage worms and loopers may also feed on turnip greens. Hand-pick isolated caterpillars and use the imported cabbage worm or cabbage looper guide for a confirmed infestation.
Harvest roots by condition
Brush soil away from the shoulder of a representative root and judge firmness, shape, and kitchen usefulness. A tender root has dense flesh and a smooth, sound surface. Oversized or stressed roots may become pithy, woody, or strong-flavored, so sample the crop rather than waiting for every plant to match.
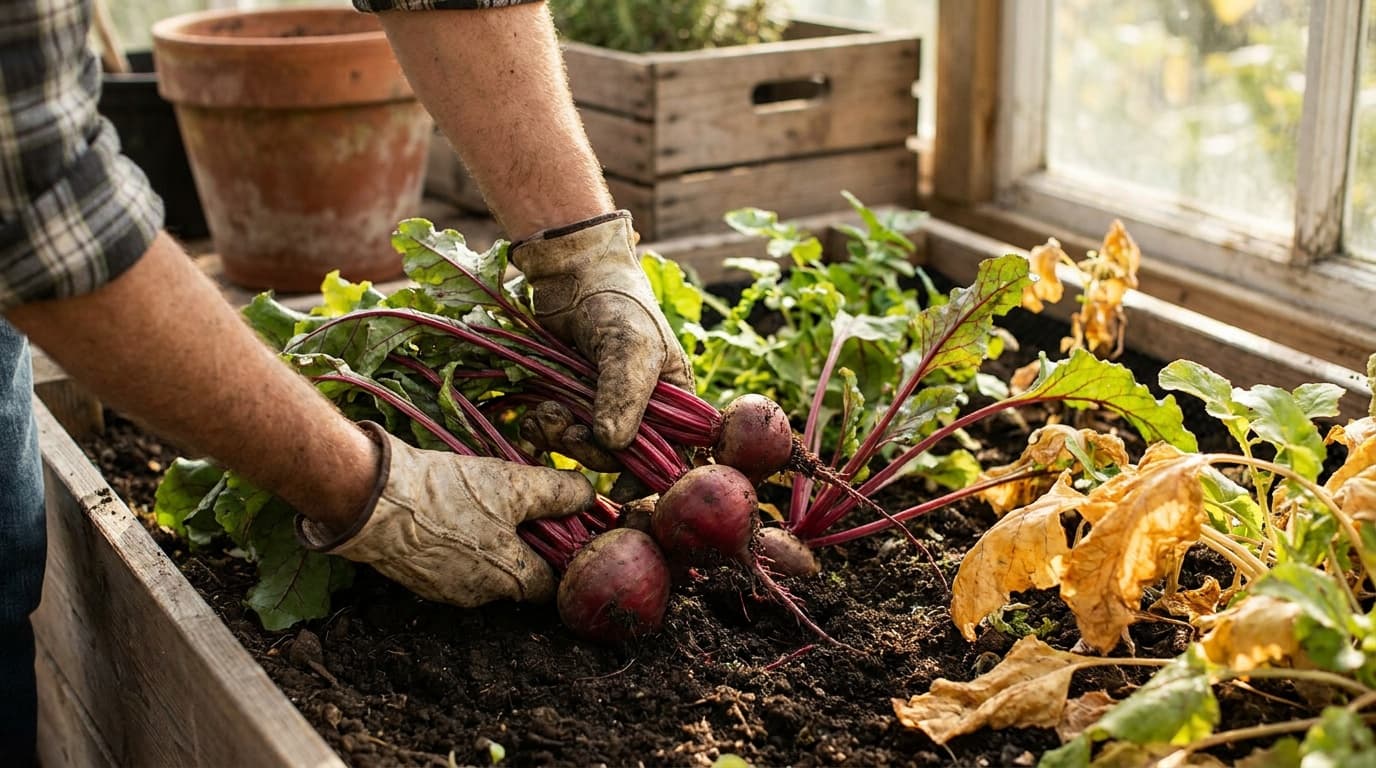
Loosen firm soil beside the root before pulling. In a friable bed, grip the leaf bases and lift with a gentle twist. Remove the tops after harvest so they do not keep drawing moisture from the root. Keep usable greens separate and cool both parts promptly.
Do not leave split, tunneled, or soft roots in the bed. Remove them and inspect neighboring plants. If damage repeats through the row, identify the pest or soil issue before planting another brassica crop there.
Troubleshoot above and below ground
Turnip field checks
Roots are woody or pithy
Roots are small beneath large tops
Roots show tunnels or rot
Leaves have many tiny holes
Roots are swollen and distorted
Why are my turnip roots woody or bitter?
Root quality declines when plants are stressed or harvest is delayed. Keep moisture conditions steady, sample roots as their shoulders develop, and pull the crop while the flesh is still dense and tender.
Can I harvest turnip greens and still get roots?
Yes, if you take leaves lightly and preserve the central growth. Use seedling thinnings first, then spread later leaf harvest across several retained plants so each root keeps a working canopy.
Why did my turnips make large tops but poor roots?
Crowding, root obstruction, and excess nitrogen can direct the crop away from useful root development. Thin decisively, prepare a loose bed, and use only modest feeding when the whole plant shows a genuine need.
How can I prevent clubroot in turnips?
Rotate turnips and every other brassica away from affected ground, move contaminated soil as little as possible, and remove diseased roots. Use the clubroot guide for diagnosis and long-term bed management.
Turnips become straightforward once the bed has a declared purpose. Build an unobstructed root zone, thin for that purpose, protect the canopy without overharvesting it, and sample roots before quality slips.