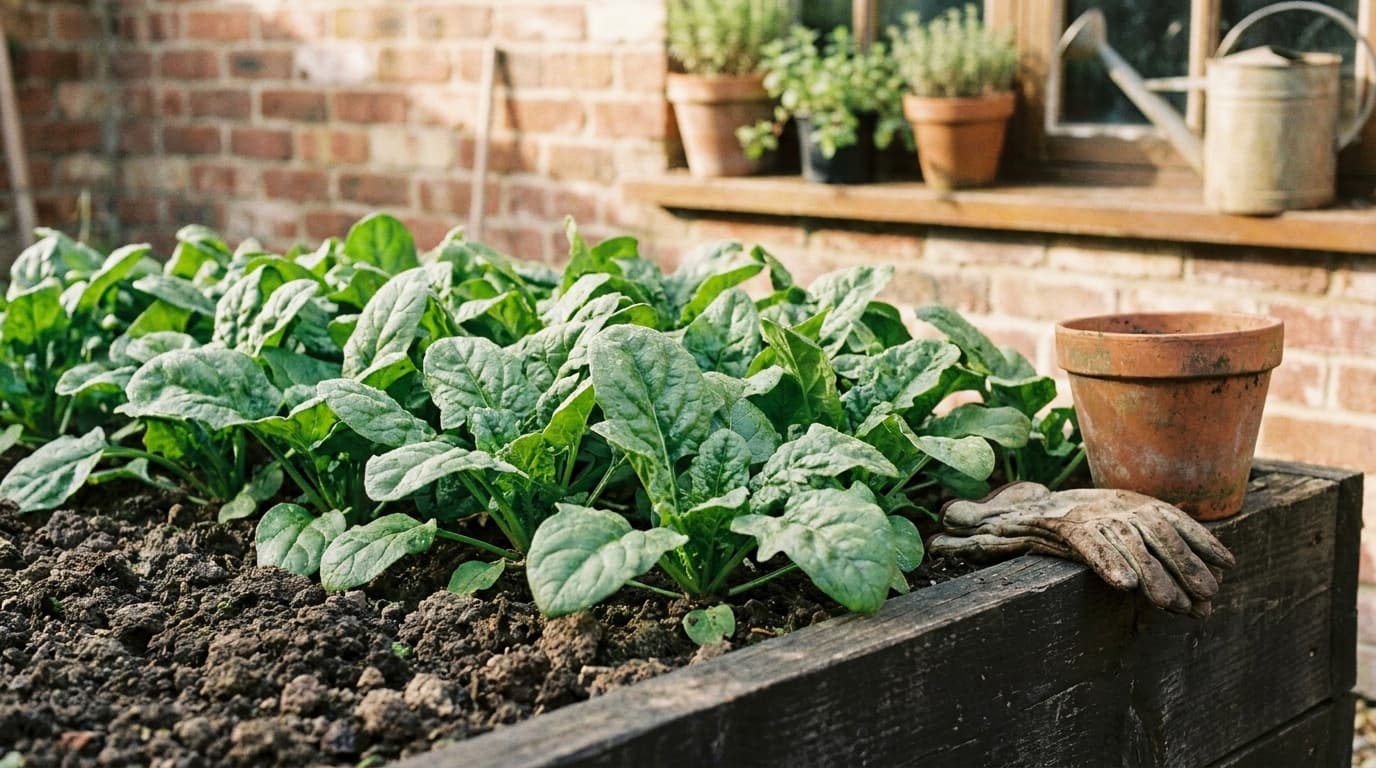
Spinach has a short, specific productive phase, which makes execution more important than rescue. A patchy stand wastes the bed, crowded plants hold damp air, and unnoticed leaf miners can ruin otherwise tender foliage. Start clean, inspect often, and harvest with the growth point in mind.
Use the spinach plant profile for exact local dates, bed layout, sowing depth, light and soil values, water rate, zone fit, and expected maturity. The planting calendar can translate the profile into a local plan. This article handles seedbed technique, ongoing care, harvest, and troubleshooting.
Make the seedbed do the early work
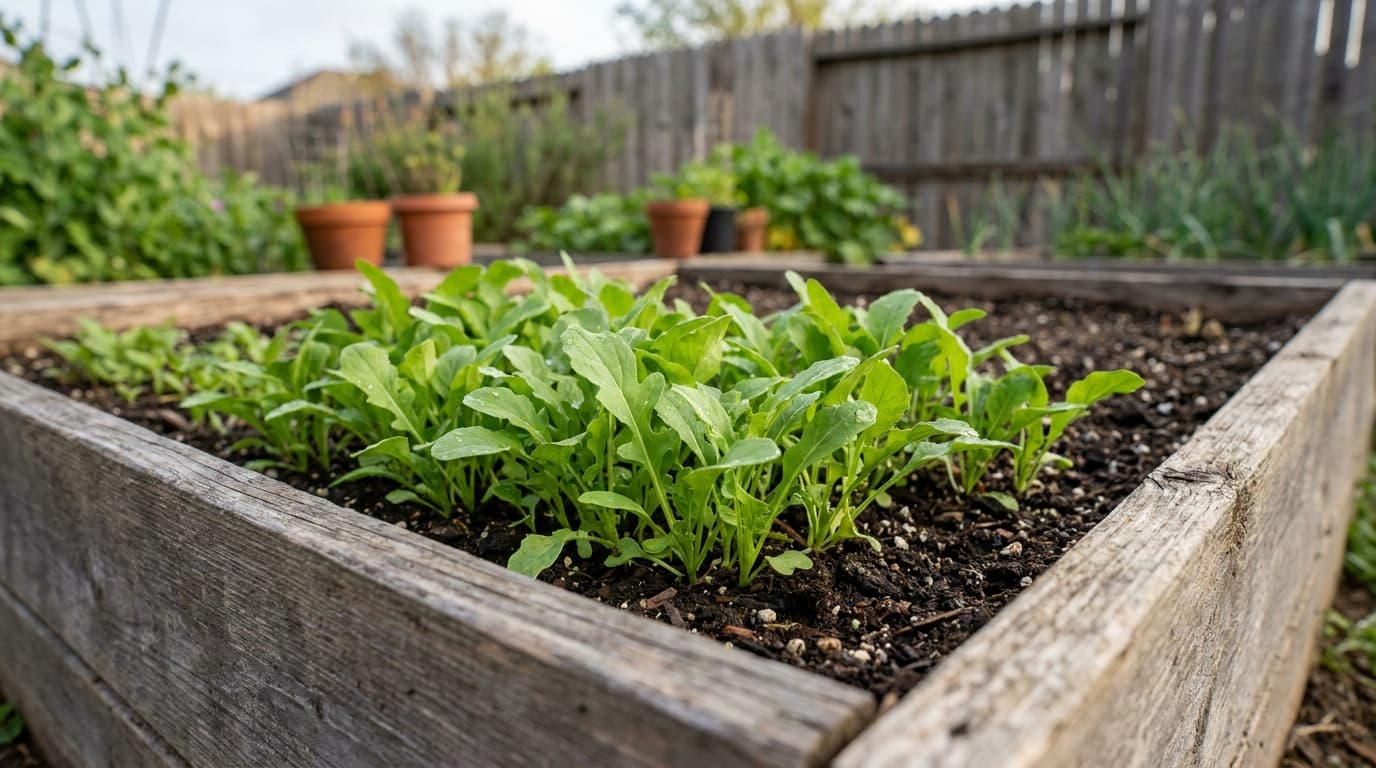
Spinach is best established where it will grow. Prepare a smooth surface with finished compost and remove clods that create uneven moisture pockets. The bed should drain after watering but retain enough moisture that the surface does not harden between checks.
Sow gently and press the surface into contact with the seed rather than compacting it. Use a fine watering pattern so seed is not washed into clusters. If the soil forms a crust, loosen only the surface with a light touch; deep raking can displace seed or tear emerging roots.
Once seedlings show true leaves, remove crowded extras by snipping them at soil level. Pulling them can disturb the shallow roots of neighboring plants. Use the exact bed layout from the profile and aim for an even stand with open airflow.
Feed leaves without forcing soft growth
Work compost into the bed before sowing. Spinach uses available fertility to build leaves quickly, but that does not mean every stand needs extra fertilizer. Evenly colored, actively expanding leaves indicate that the soil is supplying the crop.
If the entire stand looks pale and slow, inspect drainage and roots first. Healthy roots in a well-drained bed may benefit from a modest nitrogen-forward side-dressing. Apply it beside the plants rather than against their crowns, then water the soil. Wilt in saturated ground or damaged roots will not improve with feeding.
Mulch only after seedlings are established. A light layer between plants can reduce surface drying and soil splash. Keep it away from the crowns so damp debris does not sit against tender stems.
Water for roots and leaf health
The goal is even root-zone moisture with a canopy that dries promptly. Check the soil by touch and irrigate before plants lose firmness. Direct water toward the soil whenever practical. Repeated wetting of crowded foliage favors downy mildew and makes leaf surfaces harder to inspect.
Moisture swings can contribute to tipburn, while saturated soil reduces root function. Improve drainage if the bed stays wet rather than responding with longer gaps that stress the crop in the other direction. The vegetable garden watering guide explains how to match irrigation method to soil behavior.
Defend edible foliage
Leaf miners create pale tunnels or blotches inside the leaf. Remove affected leaves and dispose of them before the larvae finish developing. Floating row cover placed over a clean stand prevents adult flies from reaching the crop, but it must be installed before eggs are laid and kept sealed at the edges.
The existing Agribon AG-19 row cover is a practical barrier for a bed with recurring leaf-miner pressure.
Aphids cluster on leaf undersides and in folded center growth. Dislodge a small colony with a firm water spray, then recheck the crown. For downy mildew, remove badly affected leaves, improve airflow, and avoid carrying wet foliage from plant to plant during harvest.
Harvest around the growth point
For repeated picking, take the oldest tender outer leaves and leave the center intact. Cut or pinch cleanly without tearing the crown. Spread a large kitchen harvest across several plants so each retains working foliage.
For a whole-plant harvest, cut the stem at the base and handle leaves gently. Spinach wilts and bruises quickly, so harvest after surface moisture has dried, cool it promptly, and wash just before use when practical.
The center provides the clearest quality signal. Compact new leaves indicate continued vegetative growth. A rising central stem and increasingly upright leaves indicate bolting. Take the final usable harvest rather than trying to reverse the transition.
Replace the stand at the right moment
Spinach is not obligated to remain productive through every season. Once bolting begins, flavor and texture can decline quickly. Severe leaf-miner damage, recurring mildew, or a weak patchy stand can also make replacement more efficient than prolonged treatment.
Clear compromised plants and remove diseased foliage from the bed. If the broader season still suits spinach, a fresh small sowing may be worthwhile. Otherwise, move to a crop better suited to the next phase. Swiss chard is a useful leafy alternative when true spinach no longer performs well.
Spinach field checks
Poor emergence
Pale tunnels in leaves
Brown leaf margins
Gray growth beneath leaves
Center begins rising
Why does my spinach bolt so quickly?
Bolting is a crop transition encouraged by unsuitable growing conditions and plant stress. Once the center elongates, it cannot be reversed. Harvest what remains useful and use the spinach profile and calendar to plan the next local crop window.
Why did my spinach emerge in patches?
Uneven surface moisture, crusted soil, seed washed into low spots, or disturbed rows are common causes. Prepare a finer seedbed, water gently, mark the row, and keep the surface consistently moist through emergence.
How do I harvest spinach more than once?
Take mature outer leaves while preserving the compact center and enough healthy foliage for recovery. Harvest across several plants rather than stripping one crown, then continue ordinary root-zone care.
How can I prevent leaf-miner damage on spinach?
Start with a clean bed, install floating row cover before adult flies reach the leaves, and seal the edges. Remove mined leaves promptly so larvae do not complete their life cycle inside the protected area.
Start spinach with an even stand and protect the leaves from pests and disease. Cut outer leaves around the center for repeat harvests. Clear the crop when bolting or disease ends production.