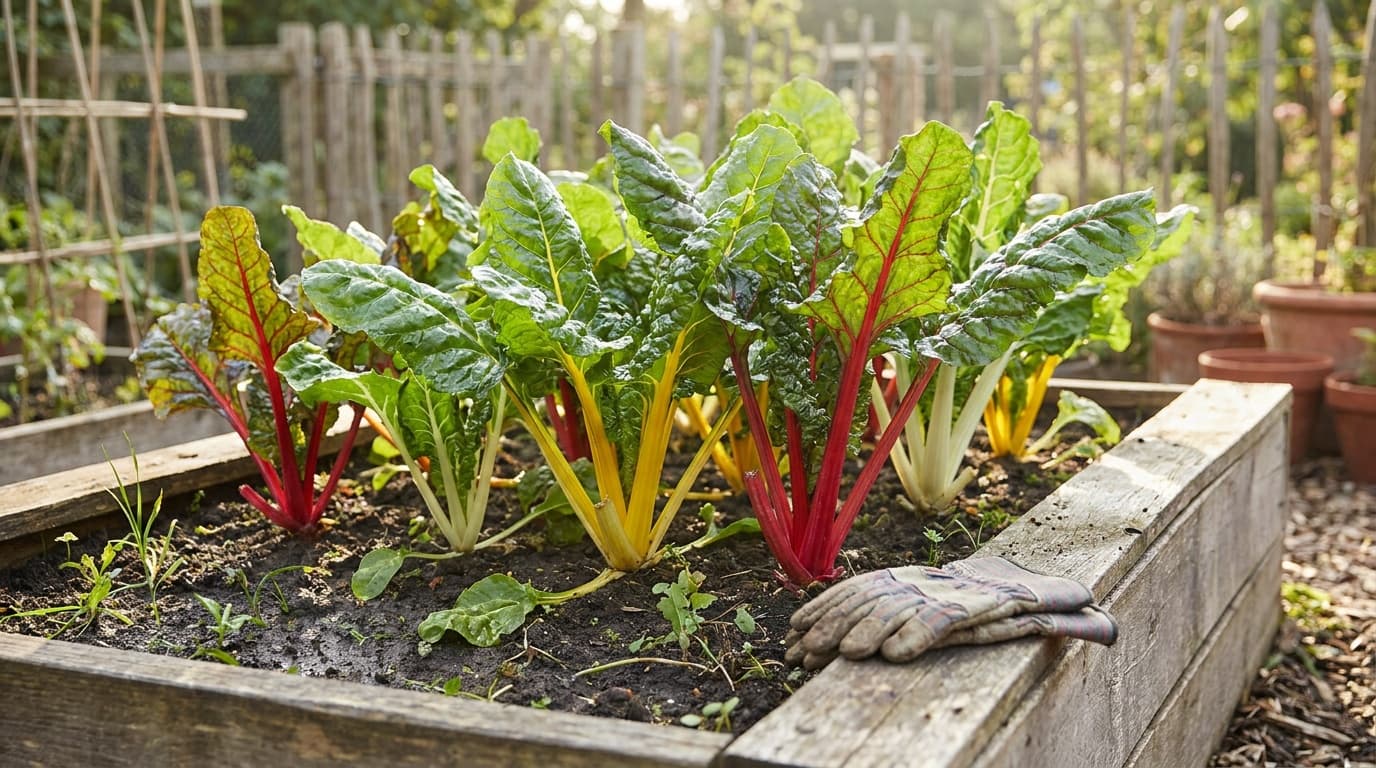
Swiss chard fills the gap between quick salad greens and long-season cooking greens. It can be harvested repeatedly, its leaf stalks are useful as well as the blades, and established plants often remain productive after spinach quality declines. The key is to manage each plant as a crown, not as a loose collection of leaves.
Use the Swiss chard plant profile for exact local dates, bed layout, sowing depth, light and soil values, water rate, zone fit, and expected maturity. This guide explains seedling management, long-term care, harvest technique, and troubleshooting.
Understand clustered seedlings
What looks like one chard seed is commonly a fruit cluster capable of producing several seedlings. That is why a carefully placed seed can still create a small clump. Plan to thin after emergence rather than assuming the clump represents an error.
Prepare a smooth bed with finished compost and good drainage. Sow directly for the least root disturbance, or move hardened transplants with their plugs intact. When a cluster emerges, choose the strongest seedling and snip the others at soil level. Pulling can loosen the roots of the plant you mean to keep.
Chard is related to beets and can share some disease pressure with them. Rotate both crops as one family when planning the bed. The home garden crop rotation guide provides a simple framework.
For container growing, choose a stable vessel with unobstructed drainage and enough soil volume to buffer moisture changes. Use the container gardening guide for setup and the plant profile for exact crop values.
Build a clean, accessible crown
Keep weeds from crowding the plant base, but cultivate shallowly around established chard. Damaged surface roots can reduce leaf vigor. A light mulch between plants can moderate the root environment, provided it does not touch the crown.
Check moisture by touch and irrigate before the leaves lose firmness. Direct water to the soil so broad leaves do not remain wet. If a container or sandy bed dries rapidly, adjust the frequency of checking rather than waiting for the plant to collapse and then flooding it.
Use foliage color to guide feeding. Evenly colored new growth indicates adequate fertility. Broad paling with healthy roots can justify a modest balanced side-dressing. A single yellow lower leaf is usually an old leaf ready for removal, not proof that the whole plant is deficient.
Protect leaves from miners and chewing pests
Leaf miners leave pale winding tunnels or blotches inside chard leaves. Remove mined leaves before larvae complete development. A floating row cover over a clean crop can prevent adult flies from laying eggs, but it needs sealed edges and periodic inspection.
Slugs chew ragged holes and often hide in damp debris near the crown. Clear excess shelter, inspect after dusk, and avoid keeping the bed surface continuously wet. Aphids gather on leaf undersides and tender new growth; a firm water spray can remove a small colony if the crown is checked again afterward.
Leaf spots should be handled with clean harvest practices. Remove heavily affected foliage, let leaves dry before working through the bed, and avoid carrying contaminated tools or hands from plant to plant. Persistent disease is also a reason to rotate away from beets and chard in the next cycle.
Harvest the outer stalks cleanly
Take the oldest useful leaves around the outside of the crown. Follow each stalk to its base and cut or snap it cleanly without nicking the center. Harvest from several sides so the remaining plant stays balanced.
Use both parts of the leaf. The blade cooks like a sturdy green, while the stalk benefits from a head start in the pan. Separate them during preparation when their textures differ substantially. Smaller leaves can be harvested whole for quicker cooking.
For a large kitchen batch, distribute the harvest across several plants. Leaving enough healthy foliage on every crown improves recovery and keeps the next flush even.
Decide when an old plant is still worthwhile
Chard can remain productive through changing conditions, but survival alone is not the goal. Continue harvesting while the center makes clean leaves with useful texture. If growth stalls, inspect roots, drainage, crown condition, and pest pressure before feeding.
A flower stalk, rotting crown, repeated leaf-miner damage, or persistent poor leaf quality may make replacement more efficient. Remove diseased material from the bed and reset with a different family if the problem appears soilborne.
Compared with spinach and lettuce, chard often remains usable as conditions warm, which makes it valuable in a mixed greens plan. Kale offers a similar outside-in harvest pattern with different pest and flavor considerations.
Troubleshoot from crown to edge
Swiss chard field checks
Several seedlings emerge together
Pale tunnels cross the blade
Ragged holes appear near the base
Outer leaves yellow
Center stops producing
Why did several Swiss chard seedlings emerge from one spot?
Chard seed units commonly contain more than one embryo, so clustered emergence is normal. Keep the strongest seedling and cut the extras at soil level to avoid disturbing its roots.
How do I harvest Swiss chard so it grows back?
Take the oldest outer stalks at their base and preserve the central crown. Spread a large harvest across several plants and leave enough healthy foliage on each one to support recovery.
What causes pale tunnels in chard leaves?
Those marks usually come from leaf-miner larvae feeding inside the tissue. Remove affected leaves, dispose of them, and protect clean foliage with a sealed row cover before the next egg-laying cycle.
Why are the outer chard leaves yellowing?
An occasional old outer leaf naturally reaches the end of its useful life. Remove it cleanly. If yellowing spreads upward, inspect soil drainage, root health, crown condition, and overall fertility before choosing a treatment.
Swiss chard is productive because its crown organizes the work. Thin clusters carefully, keep the center clean, and harvest stalks from the outside. With that pattern in place, the crop is easy to read and easy to use.