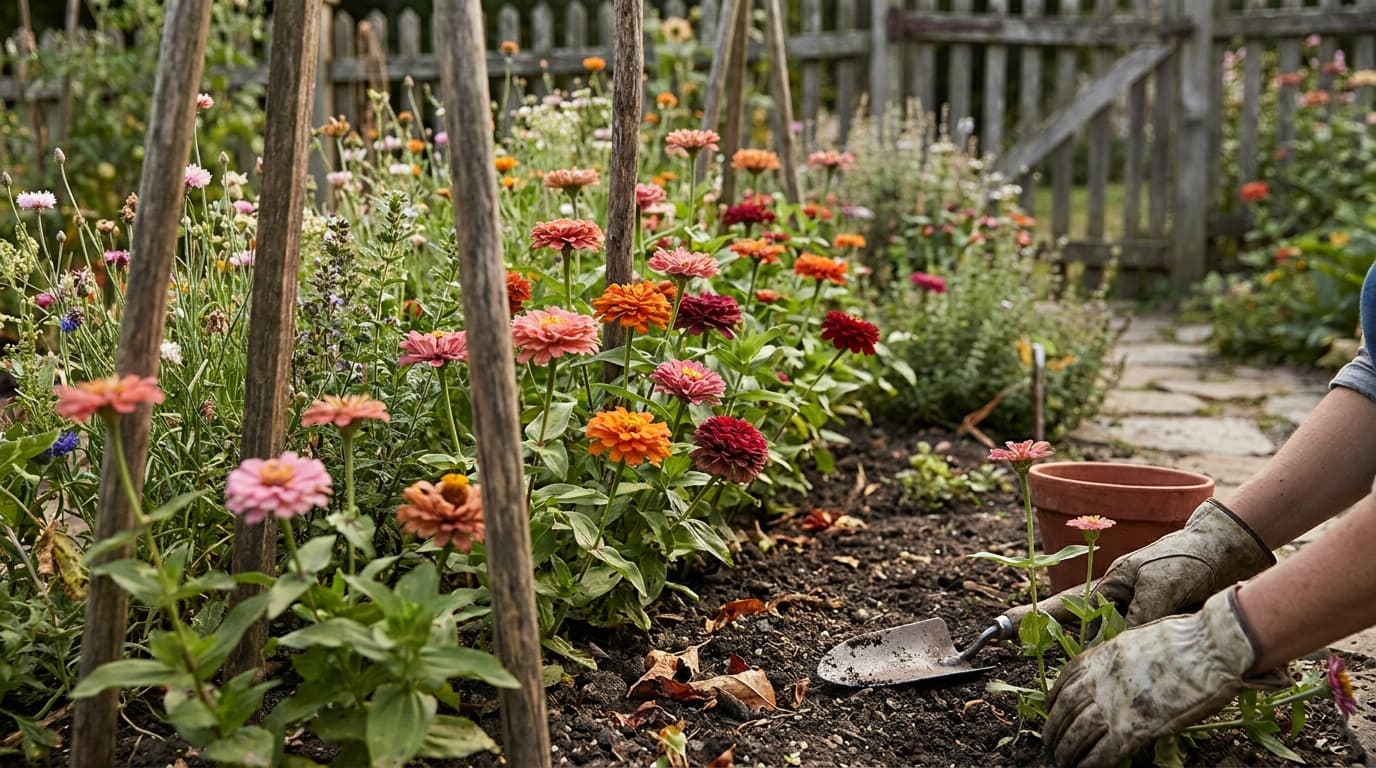
Zinnias are productive cutting flowers when the plant is treated as a stem-making structure rather than a collection of individual blooms. Cultivar choice, early branching, and clean harvest cuts determine how many useful stems the plant can keep producing.
Choose habit before color
Tall branching zinnias are the usual choice for cutting because they create long side stems after pinching and harvest. Compact bedding types are useful for edging and containers but do not respond to deep cutting in the same way. Disease-resistant series are valuable where leaf spot or mildew returns regularly.
Keep the seed packet or label. Mature height, branching habit, and disease claims are cultivar-specific and determine how the plant should be shaped.
Sow with minimal root disturbance
Zinnias establish readily from direct sowing. Prepare a fine surface, sow according to the packet, and keep the seed area evenly moist until emergence. Thin by cutting weaker seedlings at the soil line rather than pulling through neighboring roots.
Indoor starts can work when handled in individual cells and moved before roots become crowded. See how to start seeds indoors for the setup.
Pinch branching plants once established
When a branching plant has several healthy leaf pairs and a sturdy stem, remove the central growing tip just above a node. The buds below the cut become side branches. Do not pinch a compact bedding cultivar unless its label recommends it.
Turn one zinnia stem into many
Confirm the habit
Wait for sturdy growth
Cut above a node
Guide the regrowth
Water roots and keep leaves dry
Water at the base and allow air to move through the canopy. Wet foliage and crowded plants increase pressure from powdery mildew, alternaria leaf spot, and bacterial leaf diseases.
Feed modestly. Excess nitrogen produces lush leaves and soft stems while reducing flower quality. A balanced amendment is enough where the soil is not depleted.
Cut with the wiggle test
Hold the stem above the cut point and shake it gently. A stem that stays upright is ready for a vase; one that bends or wobbles near the neck needs more time. Cut deeply above a healthy side shoot so the plant can replace the harvested stem.
Strip leaves that would sit below water and place stems into a clean bucket immediately. Refresh vase water and remove decaying foliage to extend display life.
Regular cutting and deadheading prevent the plant from directing energy into mature seed. If saving seed is the goal, mark selected healthy flowers and leave those heads to dry.
Scout for pattern and spread
- Powdery mildew creates a pale coating on leaves and is reduced by resistant cultivars and dry foliage.
- Alternaria leaf spot produces expanding lesions that may merge.
- Bacterial spot can resemble fungal leaf damage; avoid moving wet foliage and clean tools.
- Spider mites cause stippling and webbing in hot, dry conditions.
- Thrips scar flowers and hide inside petals.
Should zinnias be pinched?
Pinch tall branching cultivars when you want more cutting stems. Remove the main tip above a healthy node after the plant is sturdy. Compact bedding types may not need or benefit from the same treatment.
Why is there white powder on zinnia leaves?
The likely cause is powdery mildew. Remove badly affected leaves, water the root area, improve airflow, and choose a resistant cultivar for future plantings.
How do I know a zinnia stem is ready for a vase?
Use the wiggle test. Hold the stem above the intended cut and shake gently. A mature stem stays firm; a neck that bends needs more time before cutting.
How do I keep zinnias producing flowers?
Cut deeply above a useful side shoot, remove spent blooms before seed develops, and avoid excess nitrogen. Each clean cut should leave the plant with a clear branch to continue growth.