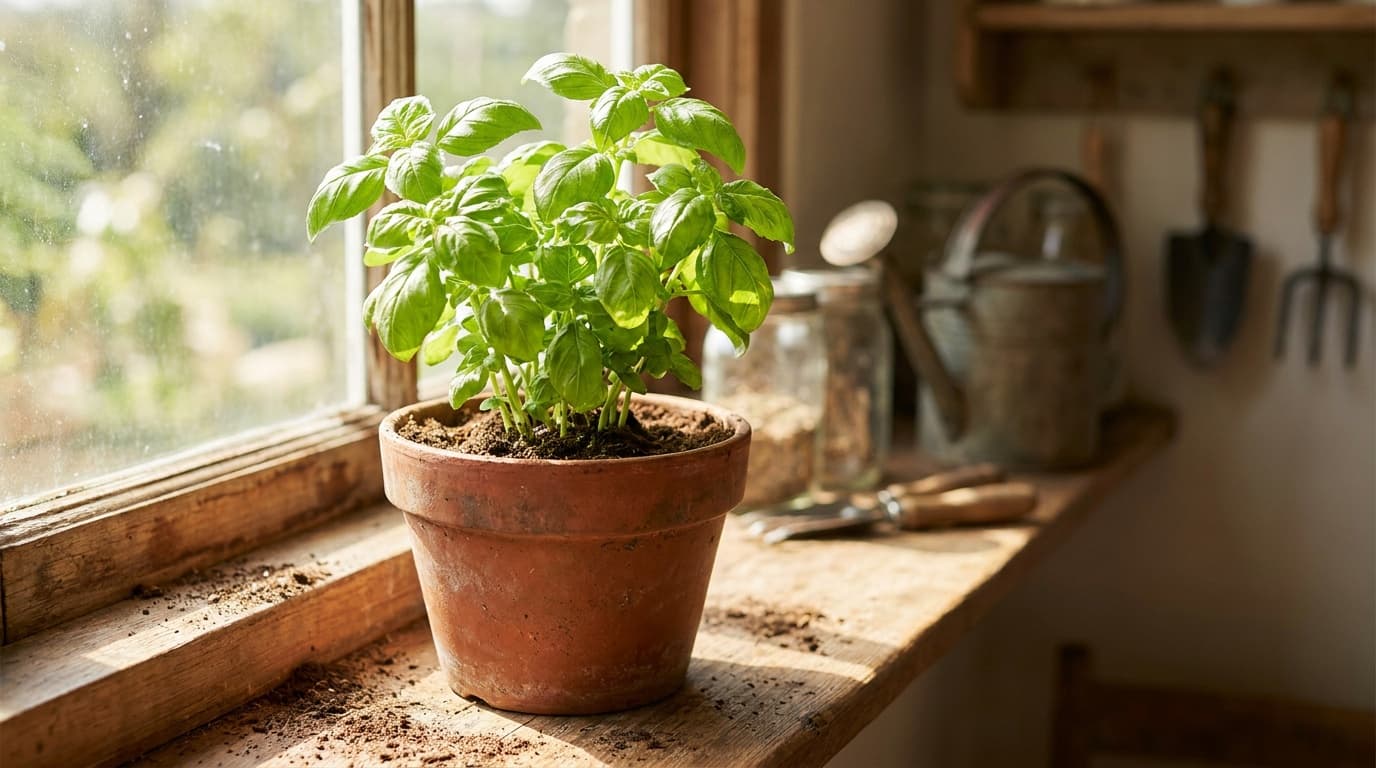
Basil is not difficult once it is growing in warm conditions. Most disappointing plants begin with a cold transplant, weak indoor light, or a wet root zone. The rest of the crop is active harvest management: keep branching, remove flower buds, and watch for disease beneath the leaves.
Use the basil plant profile for the local sowing window, seed depth, mature plant layout, soil range, and sun requirement. The planting calendar and frost dates tool provide the local schedule.
Choose seed, transplants, or cuttings
Starting from seed gives the broadest variety choice. Use a clean, fine mix and the measured depth from the plant profile. Strong overhead light matters immediately after emergence; weak light produces elongated seedlings that are difficult to harden.
Purchased transplants should be compact, richly colored, and free of leaf spots. Look beneath the leaves for gray or purple growth before bringing a plant home.
Cuttings are useful for preserving a favorite plant. Snip a non-flowering tip below a node, remove the lower leaves, and root it in water or a damp propagation mix. Pot it once a healthy root system has formed.
For the complete indoor setup, see how to start seeds indoors.
Some links on this page are affiliate links. As an Amazon Associate I earn from qualifying purchases.
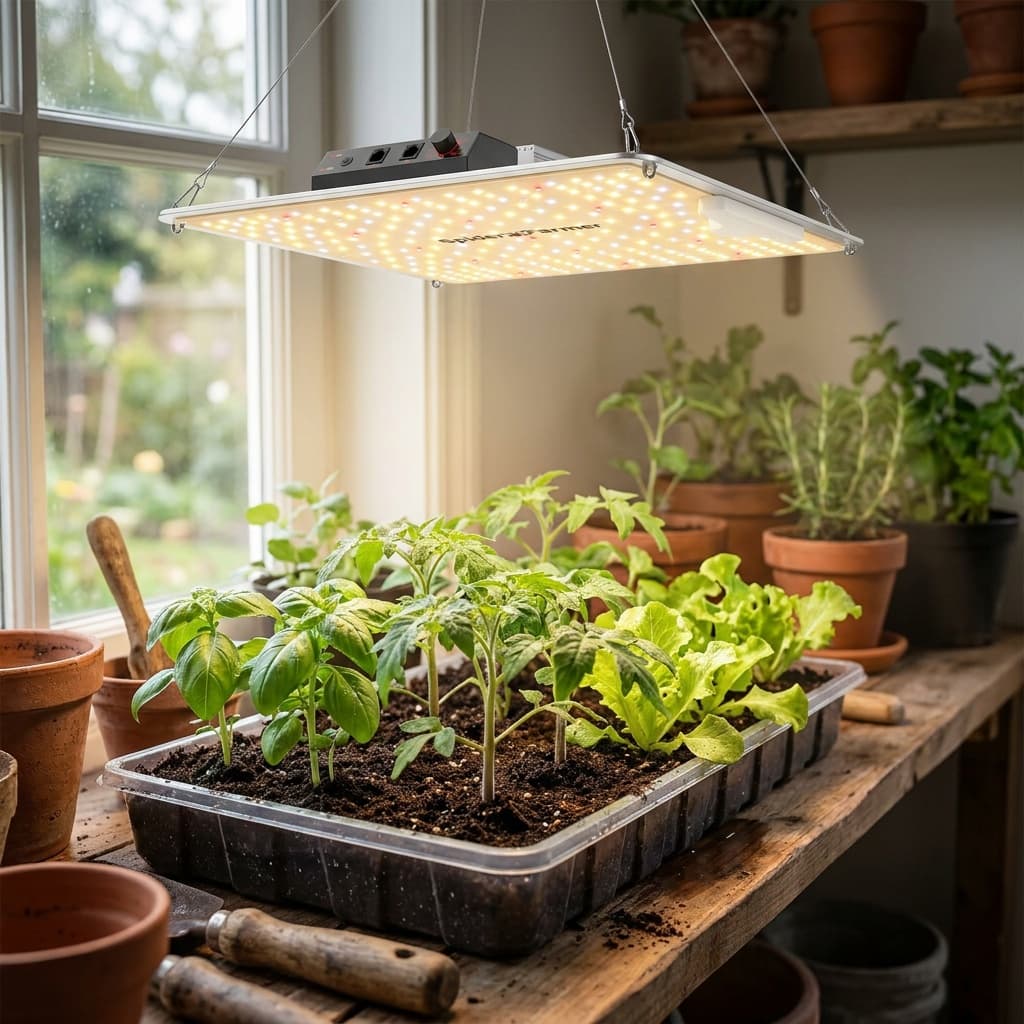
Full-spectrum grow light
Spider Farmer SF-1000 LED Grow Light
Best for: Growers who want a quality dimmable panel for a 2x2 footprint.
Keep in mind: Covers a smaller footprint than its strip-light cost equivalent
Amazon price as of the checked date, subject to change. The price on Amazon at checkout applies.
Full research
- Type
- Quantum-board LED panel
- Diodes
- Samsung LM301B, full spectrum
- Power draw
- 100W
- Core coverage
- 2 x 2 ft
A dimmable full-spectrum quantum-board panel with Samsung diodes, fanless and quiet. A step up from strip lights for vigorous seedlings or a small grow.
This catalog-wide research score is separate from this guide's use-case ranking. How we research
Strengths
- High-quality Samsung LM301B diodes
- Dimmable for hardening off and stage control
- Silent, fanless operation
Weaknesses
- Covers a smaller footprint than its strip-light cost equivalent
- Overkill for a casual seed tray or two
Sprout Score breakdown
Best for
Growers who want a quality dimmable panel for a 2x2 footprint.
Owner rating snapshot
Amazon · 123 reviews · 4.6 stars
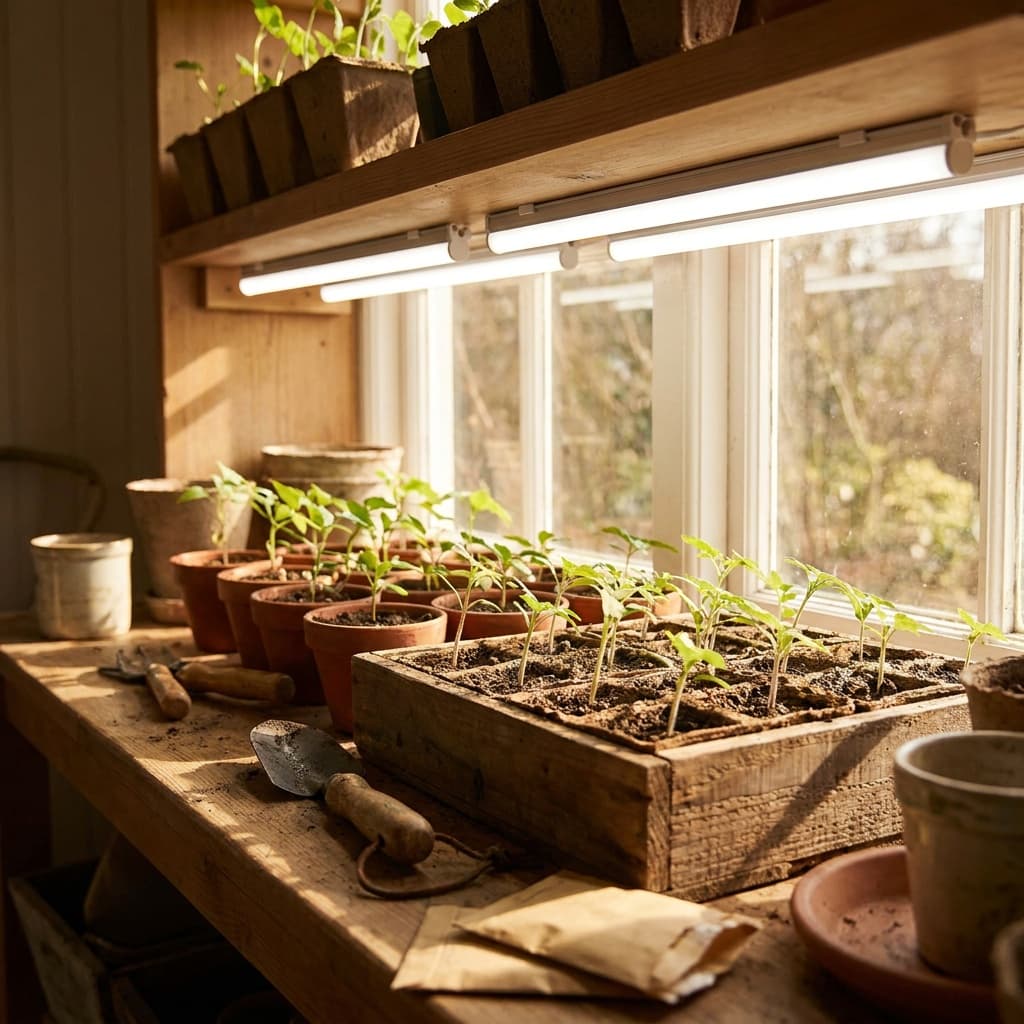
Budget panel option
Barrina T5 LED Grow Light (4FT, 20W, 6-Pack)
Best for: Lighting a multi-shelf seed-starting rack on a tight budget.
Keep in mind: Lightweight mounting hardware and connectors
Amazon price as of the checked date, subject to change. The price on Amazon at checkout applies.
Full research
- Type
- T5 LED integrated bar (linkable)
- Length
- 4 ft per bar
- Spectrum
- Warm white (3000K)
- Power
- 20W per bar (2200 lm)
Linkable LED strip lights that bolt under a shelf to light a full tray of seedlings evenly. The default choice for budget seed-starting rigs.
This catalog-wide research score is separate from this guide's use-case ranking. How we research
Strengths
- Even coverage across long shelves
- Daisy-chain up to many bars from one outlet
- Very low cost per square foot of canopy
Weaknesses
- Lightweight mounting hardware and connectors
- No dimming or built-in timer
Sprout Score breakdown
Best for
Lighting a multi-shelf seed-starting rack on a tight budget.
Owner rating snapshot
Amazon · 269 reviews · 4.6 stars
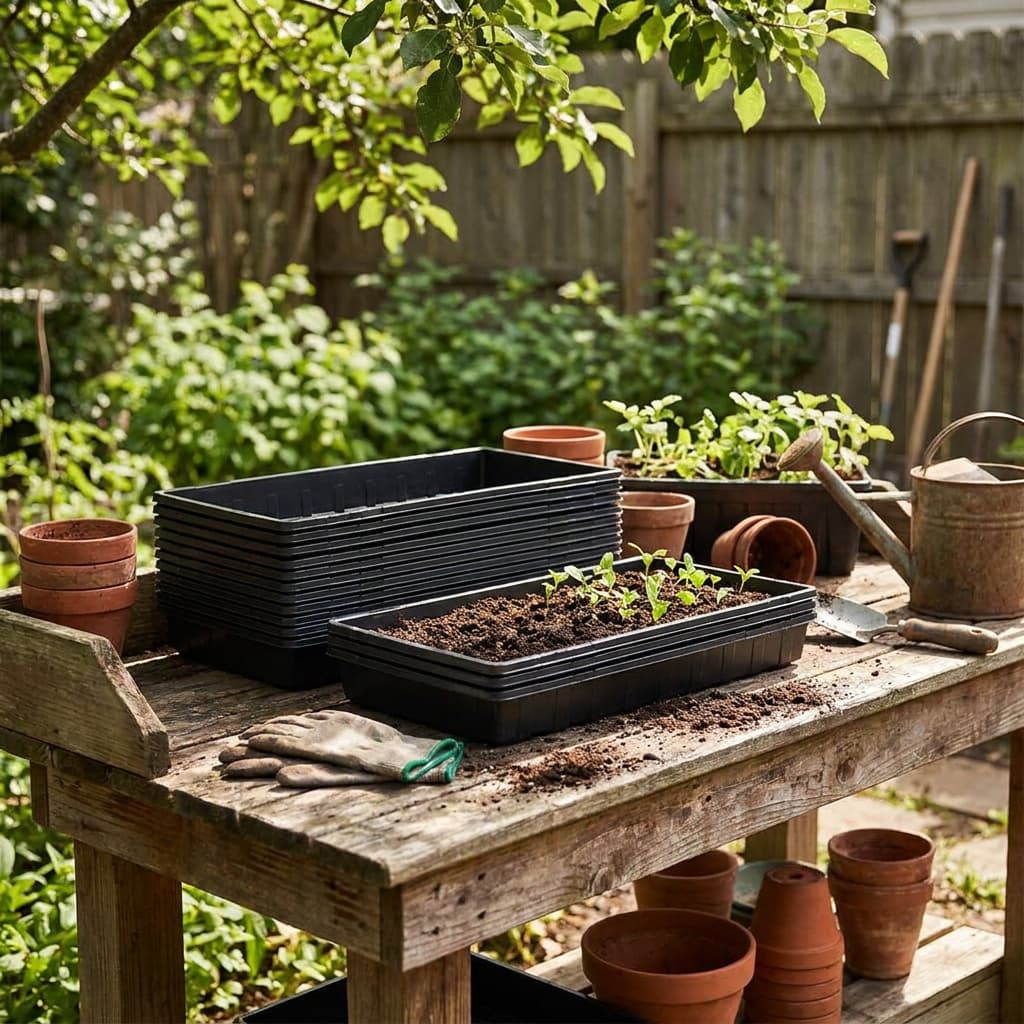
Seed starting trays
Bootstrap Farmer 1020 Trays (Heavy-Duty, No Holes)
Best for: Gardeners tired of replacing cracked trays every season.
Keep in mind: Much pricier upfront than disposable trays
Amazon price as of the checked date, subject to change. The price on Amazon at checkout applies.
Full research
- Footprint
- Standard 1020 (10 x 20 in)
- Material
- Thick BPA-free plastic, USA-made
- Drainage
- No-hole bottom tray (use as base or with inserts)
- Reusability
- Multi-season, dishwasher/heat-mat safe
Thick, USA-made 1020 trays built to survive many seasons rather than crack after one. The standard footprint pairs with any insert, dome, or heat mat.
This catalog-wide research score is separate from this guide's use-case ranking. How we research
Strengths
- Far more durable than standard nursery trays
- Standard 1020 size fits the whole ecosystem of inserts and domes
- Reusable for years, lowering long-term cost
Weaknesses
- Much pricier upfront than disposable trays
- No-hole base needs separate inserts for drainage
Sprout Score breakdown
Best for
Gardeners tired of replacing cracked trays every season.
Owner rating snapshot
Amazon · 21 reviews · 4.8 stars
Prepare the plant for outdoor growth
Harden basil gradually. Start in a sheltered spot, increase direct light over several days, and bring plants back under cover if a cold night threatens. The hardening off seedlings guide explains the process.
Choose a well-drained bed or container and work in mature compost. Basil likes fertile soil but performs poorly where water collects around the roots. In humid gardens, generous airflow is as important as rich soil.
Basil is excellent in containers because it can move during a cold spell. Use a pot with open drainage holes and a mix that holds moisture without staying saturated. See container gardening for beginners and best vegetables for containers.
Set transplants at the same depth they grew in the pot and follow the basil plant profile for the mature layout. Water in gently and keep foliage dry when possible.
Pinch for a branching plant
An unpinched basil plant tends to make one tall stem, then flowers. A pinched plant turns each removed tip into two active branches. The first cut can feel severe, but it is the basis of a larger harvest.
Pinch basil correctly
Find a healthy leaf pair
Cut above the node
Repeat on each branch
Remove flower buds early
Harvest while shaping
Pinch every one to two weeks during vigorous growth. A leggy plant can be reduced by roughly one-third, provided several healthy leaf nodes remain below every cut. Do not cut a bare woody stem and expect it to recover.
Water and feed without inviting disease
Water when the root zone begins to dry, then let excess drain. Containers need more frequent checks than beds. Aim irrigation at the soil because wet leaves and humid nights favor downy mildew and gray mold.
Start with compost and feed lightly only when growth or a soil test calls for it. Heavy nitrogen can create soft, dense growth that holds humidity. Airflow, clean tools, and moderate feeding produce a sturdier plant.
Diagnose basil problems
Downy mildew: Yellow areas appear above and gray-purple growth develops below. Remove affected plants, do not compost them, and choose resistant cultivars for the next crop. See downy mildew.
Fusarium wilt: One or more stems wilt permanently and may show brown vascular tissue. Remove the plant and avoid moving its soil. See fusarium wilt.
Aphids: Soft colonies gather on tender tips. A firm water spray handles many small infestations. See aphids.
Gray mold: Fuzzy gray growth follows damaged tissue, dense foliage, and persistent moisture. Thin the canopy and remove infected material. See gray mold.
Blackened leaves after a cold night: Chilling injury is permanent. Remove damaged tissue only after the plant returns to stable warmth.
Harvest and preserve flavor
Harvest stem tips just above a leaf node. This is the same cut used for pinching, so regular kitchen harvest keeps the plant branching. Never remove all foliage from a stem.
Fresh basil dislikes refrigerator cold. For short storage, keep cut stems in a glass of water at room temperature and remove leaves below the waterline. For a large crop, make pesto and freeze it, or freeze blanched leaves. Drying is convenient but loses much of basil's fresh character.
Why is my basil turning yellow?
Check drainage first, then inspect the undersides of leaves. Uniform pale older leaves can indicate nutrition, while patchy yellow leaves with gray-purple growth beneath point to downy mildew.
How do I keep basil from flowering?
Pinch every active branch above a healthy leaf node and remove flower buds as soon as they appear. Frequent stem-tip harvest keeps the plant in vegetative growth longer.
Can I grow basil from cuttings?
Yes. Root a healthy non-flowering tip in water or propagation mix, then pot it when several roots have formed. Pinch the rooted plant after it resumes growth.
Why is my basil tall with only a few leaves?
Weak light and missed pinching are common causes. Increase overhead light, cut each stem above a healthy node, and continue shaping the new branches as they grow.
What should I do with a large basil harvest?
Use tender tips fresh, make pesto for freezing, or blanch and freeze whole leaves. Keep cut stems at room temperature for short use rather than chilling them immediately.
What to do next
Warmth gets basil started, but pinching makes it productive. Give the roots drainage, keep the leaves dry, cut above nodes, and inspect leaf undersides before disease spreads through the canopy.